The MGA With An Attitude
ENGINE MOUNT REPLACEMENT - BE-108
On 4/4/2013, Martin Zazvorka wrote:
"While trying out installing engine mounts, I have good 1/8" gap between the steel plate and mount. The mount came of this engine but I did not notice any gap taking it apart. Shall I just force them in? or shall I elongate the engine bolt hole"?
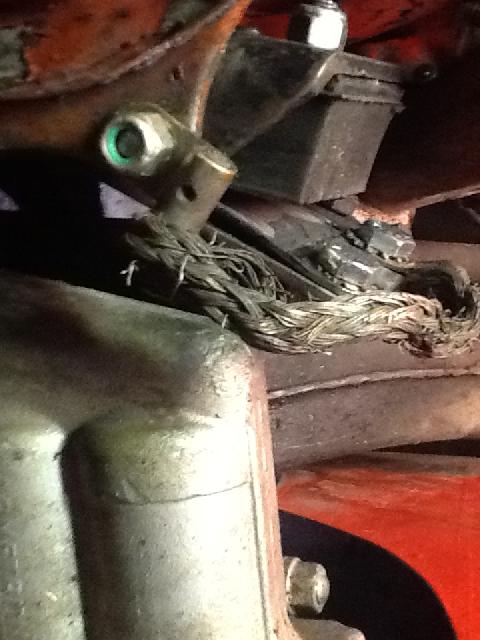
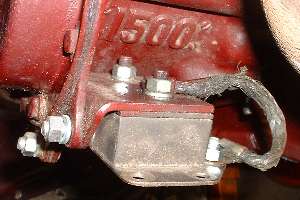
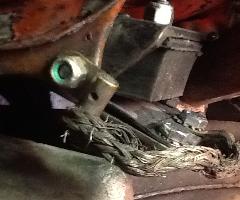 Not sure where you find a gap between engine mount parts. If you have a wedge shape gap like picture at right there is something dramatically wrong with shape of the steel brackets on the engine. Mating surfaces for the engine mounts must be flat and parallel so the mount plates will mate flat against the brackets. If not, then straighten or replace the upper brackets.
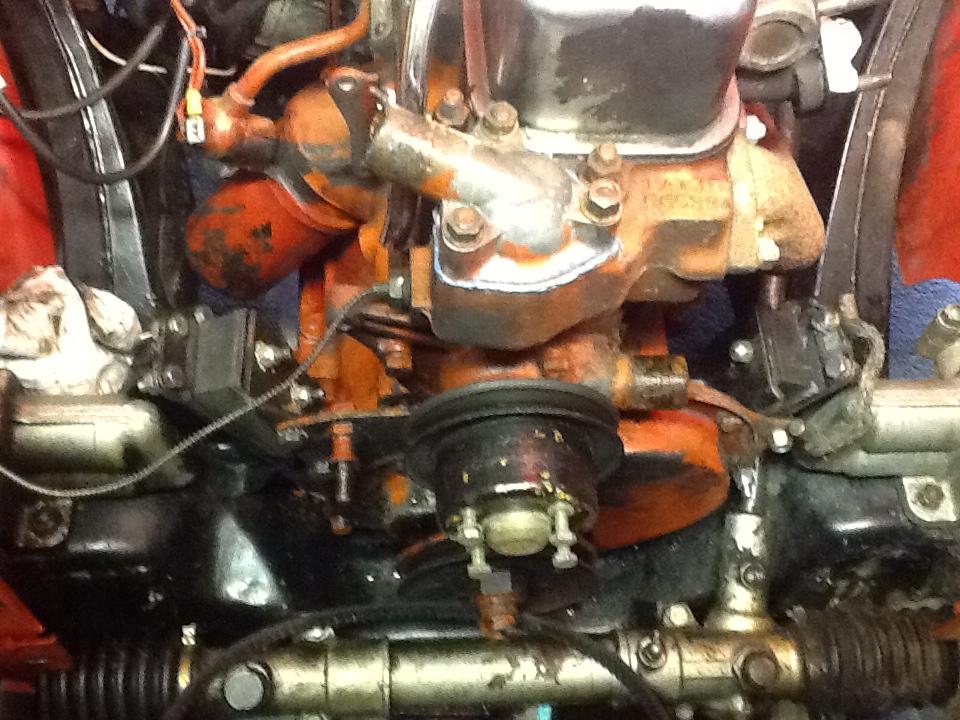
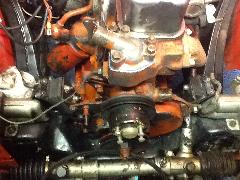
You can replace MGA engine mounts without removing the radiator if you remove carburetors and heat shield on the left side, and remove generator on the right side to have access to the engine mount fasteners. You might be able to change engine mounts without removing the carburetors if you remove the radiator. Place a floor jack under the engine with a flat board under the sump to spread the load. Remove all bolts from the engine mounts, then lift the engine just enough to remove the old engine mounts.
Early MGB engine mounts are same parts as MGA. Aft of the flat front plate there is a large "L" shape bracket with two bolts in front and a bent flange at bottom with one bolt into the engine block. Put this piece on the engine and tighten all the bolts first (both sides). Then install the rubber mounts on the brackets with hex nuts and lockwashers, attaching the engine grounding strap to one of the threaded studs on the left side of the engine. When installing the engine assembly in the car, I suggest you bolt down the rear gearbox mount, then mate
 the engine to the gearbox (if not already done), so the engine will be properly aligned in the chassis.
Lower the engine down until the mounts just touch the frame plates, but you can still move it around a bit by hand. The mounts must sit flat on the frame plates. There will be four bolts in the bottom flange of the rubber mount. You may expect these holes to not align perfectly on first seating. Use a Phillips screwdriver or an alignment punch to push the bottom plate around, deforming the rubber block a bit as required to align one hole while you install a bolt in another hole. Repeat a couple more times until you have two or three bolts in place. Hold the plate in alignment with the alignment punch while you tighten up the bolts, then install a bolt in the last hole. The grounding strap needs to be attached to one upper stud and one lower bolt so the strap will bridge the mount and electrically connect the engine bracket to the frame pedestal.
|