The MGA With An Attitude
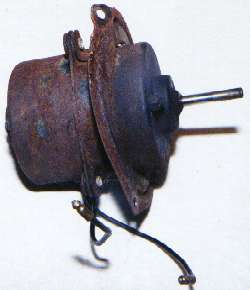
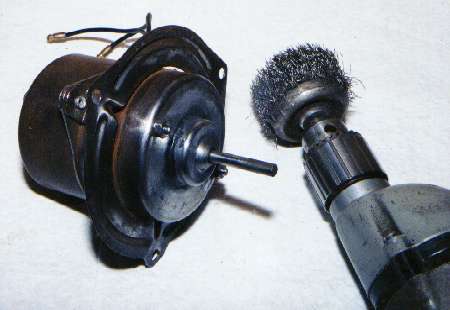
Here we go with with one of the crustiest heater motors I've ever seen. Besides being badly rusted, at least on the outside of the case, it wouldn't run, it would hardly turn, and the mounting flange was badly bent. In short, it didn't have much redeeming social value, except that it was an original MGA type part, and you can't buy them new any more. That and the fact that I'm so tight I squeak when I walk, so I like to restore original parts rather than buy replacements. As of this writing (and for some years already), the new replacement motors available are the type used for the later model MGB after the introduction of the BGT-V8, which are one full inch shorter than the original MGA heater motor. All of that difference is in the length of the wound part of the armature and the length of the field coils. I don't have the spec's, and I haven't tested them side by side, but I suspect the shorter motor has somewhat less power than the original one, and you can draw your own conclusions as to what that means for cold weather driving.
Start disassembly by removing the hex nuts from the two long thin screws which pass through the length of the case. Try not to remove the screws right away, as you would like to keep the internal parts in place until the cover is off so you can see the order of assembly for future reference. Behind the round mounting flange you see a smaller triangular flange. This triangular plate is captured within the steel laminations of the motor field coil. As such it is an integral part of the field coil and cannot be removed from the laminated assembly without destruction of the field coil. The outer housing is composed of steel two cup-like half shells that slip snugly over the field coil and butt up against that center triangular plate. Once the hex nuts are removed the front shell can be removed. This may be easier said than done, as you may need to tap sideways on the shell to break it loose, and then pry between the edge of the shell and the center plate to "encourage" the shell to slide off of the field coil, as the bronze bushing in the front case slides down and off the output shaft. See next page for the explosion view. |