The MGA With An Attitude
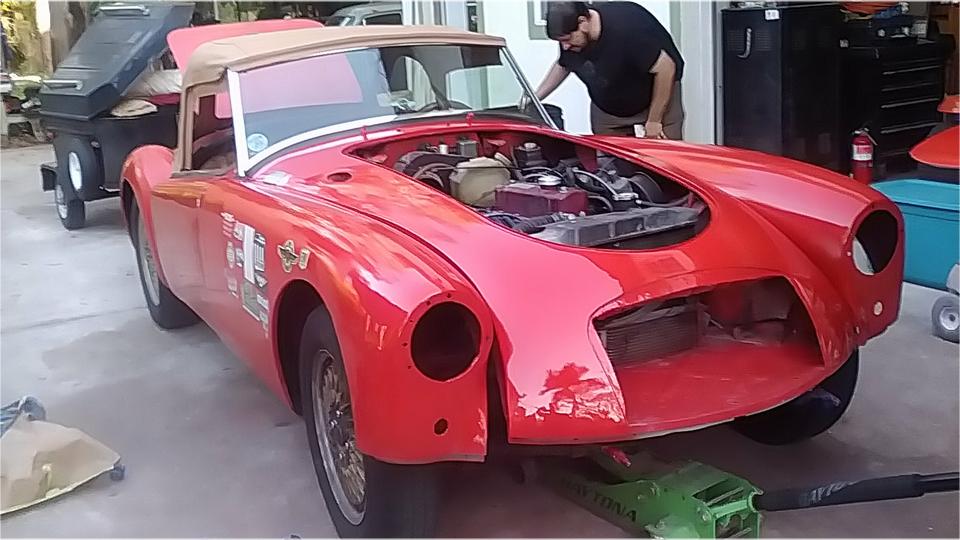
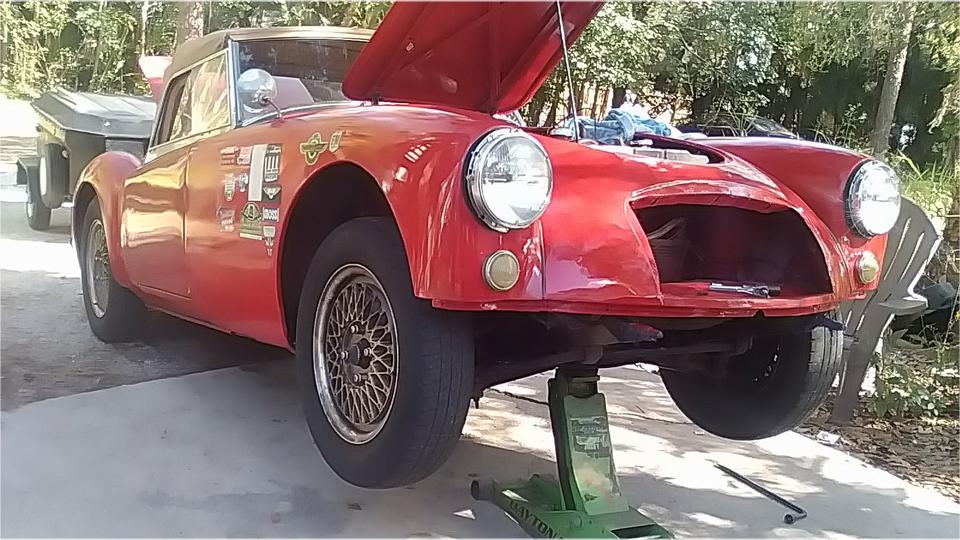
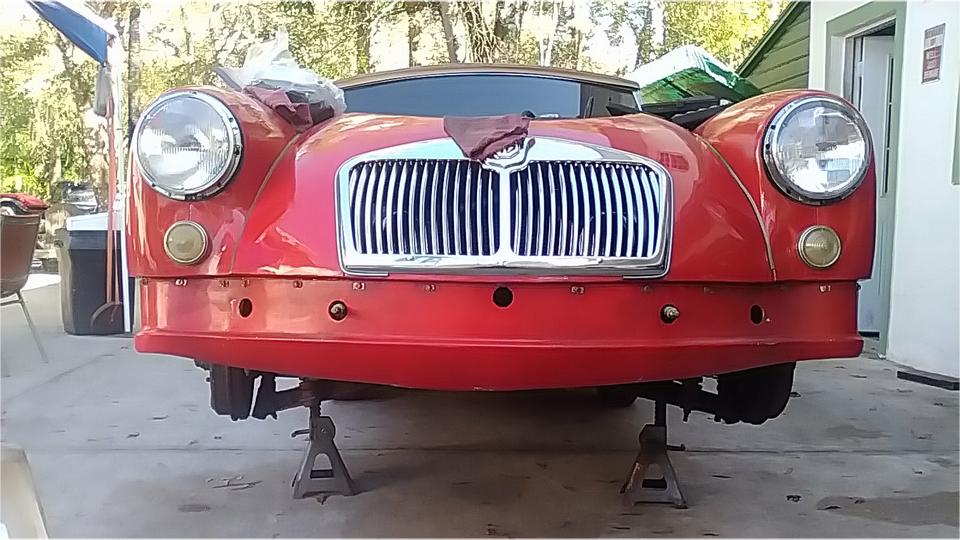
HEADLAMP Installation - ET-138
On 4/28/2023, C. Winston Russell wrote:
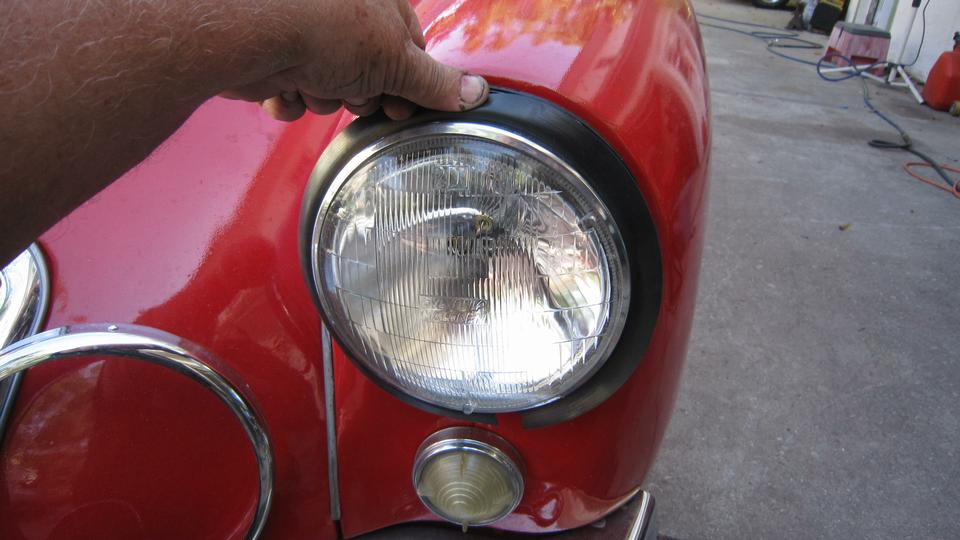
"About to install some new trim rings purchased from Scarborough. I think my old rings I purchased from Moss that rusted fit over the seal for the bucket. In looking at your photos from "rolling refit" I think I can see the black seal around the edge of the ring. Is this correct"?
When the headlight assembly is installed, there is a rubber gasket between the fixed bucket and the front wing. This gasket may be a bit thicker at the exposed edge, where it will be visible from the side before the trim ring is installed. Ideally the trim ring should seat against the rubber gasket to avoid contact with the paint.
With only the gasket and fixed bucket in place, you might try fitting the chrome trim ring. The trim ring should slip over angled flanges on the bucket top edge, then snap into place at the bottom where the retaining screw will be installed. This is the part that commonly does not fit. If the trim ring will not snap into place, you may need to "forge" the ID of the ring slightly all around at the snap over edge.
To "forge" the trim ring (if needed), hold the ring straight up vertical, sitting on a soft cloth on top of a soft pine board to protect the chrome finish around the outside edge. Tap on the inside edge of the ring with the slightly crowned (flat) face of a ball peen hammer as you rotate the ring to forge it slightly all the way around. Test fit the trim ring to the fixed bucket on the fender, and repeat as necessary until you can get the ring to snap on.
At that point, with only the fixed bucket and trim ring present, the edge of the rubber gasket might be covered with the trim ring touching the paint. Or (more preferred) the ring may fit against the face of the rubber gasket with the gasket visible around the edge of the trim ring, so the trim ring does not touch the paint.


Then check to be sure the ID at front edge of the trim ring will fit over the bulb retaining ring. It should have generous clearance at that location. The bulb fits into the moving adjuster bucket with the retaining ring to be secured with three small sheet metal screws. Plug the pig tail connector onto the bulb, and mount the moving bucket on the adjusting screws. You may have three adjusters, top and both sides 90 degrees apart. Or you may have two adjuster screws, top and one side only, with a tension spring installed 45 degrees from bottom opposite side from the one side adjuster screw.
My recently installed new headlamp assembly from Scarborough Faire had adjuster screw heads too large to fit through the keyhole slots on the moving bucket. You could remove and reinstall the adjuster screws, but it is more prudent to rat-tail file the large diameter end of the keyhole slots larger to allow the screw head to pass through. For final assembly, install the compression spring, flat washer, and the adjuster screw, two or three locations for each side. You should then be able to press the moving bucket over the heads of the adjuster screws, press against the flat washers to compress the springs a bit, then rotate the bucket to seat the narrow end of the keyhole slots under the screw heads.
For the two adjuster screw assembly, install the tension spring between the fixed and moving buckets before mating the moving bucket to the two adjuster screws.
The sealed beam bulb can be installed in the moving bucket with retaining ring and three small screws before installing the moving bucket. Or, after complete assembly, the retaining ring with three screws can be removed and replaced to change the bulb without disturbing the adjuster screws.
Do headlight alignment before final install of the trim ring. Do this with headlights on and switched to high beam. Car on flat surface, stand in front and hold your hand in front of the lamp to determine height of the bright spot. Then walk 10 to 20 feet forward from the car, and check height of the bright spot there. The bright spot will be larger when farther away from the lamp. Top of the bright spot forward should be same height as top of the bright spot at the lamp. That is, the light beam will be somewhat cone shape, and top of the cone should be level, parallel to the ground. Then the top of the bright beam will not be higher and in the eyes of an oncoming driver.
Both lamps should point straight ahead when on high beam. For the North American market, lamps dip lower and slightly to the right, illuminating the lane ahead and the right edge of the traffic lane (shoulder of the road).
You might like to test drive the car at night before installing the trim rings. If it is dark enough, high beams should light up a stop sign half a mile away. On low beam the road surface should be nicely lit within 100 yards of the car, but you might not illuminate a speed limit sign that far away, as low beam should not put much light any higher than the fender of the car.
Standard sealed beam bulbs may not have very sharply defined upper edge of the light beam. There may be enough spill-over that high beam may illuminate a street sign about as high as your reach, but no way to light it up a street sign with low beam. More modern headlights commonly do have a sharply defined light cut-off line extending forward about level with top of the lamp. Following another car you will light up their tail end, but will not shine light into their rear window. The modern lamps with sharp cut-off line will also never light up a street sign, even on high beam.


Place the rubber dust seal ring over front of the bulb retaining ring. Notch in the rubber dust seal ring should be aligned with the bottom tab where the retaining screw will be installed. Hook the trim ring over flanges at top of the fixed bucket, with bottom screw hole to be aligned with the screw anchor tab on fixed bucket.
If all goes well, there should be a chrome rivet head or a slight outward dimple at top dead center of the trim ring. Aligning that dimple with top center of the fixed bucket should get the bottom screw hole to align with the screw tab, but don't count on it. It may take a couple tries to get the holes to align for installation of the screw. Push on bottom of the trim ring to snap it into place, and install the screw last.
There is supposed to be a rubber O-ring under the screw head, but no big deal if it is missing. Another theory is that the screw should be inserted in the trim ring, then install the rubber O-ring on the screw to hold the screw captive in assembly in the trim ring. Maybe it was that way at the factory for the assembly line, but I find that hard to do in the field when you may want the screw out while aligning the holes before screw installation.
|