The MGA With An Attitude
This creative idea is brought to you by Walter W. Westhoff. in Virginia Beach, VA
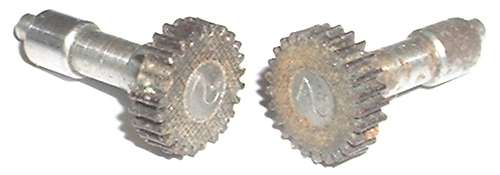
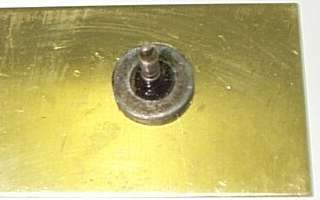
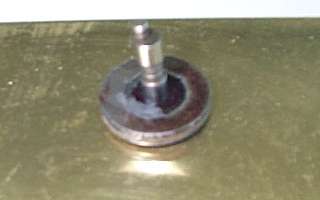
The gears in the speedometer that rotate the shafts that operate the odometers are molded of a phenolic material. As time goes by, and particularly after long periods of non-use, the lubrication on the shafts dries up, putting a strain on the gear teeth which can ultimately result in breakage of the teeth. This is most likely to result in 2 or 3 broken teeth that are in contact with the main drive gear driven by the input shaft when the input to the speedometer is rotated. To prevent this, the shaft bearings should be lubricated periodically (every 5 or 10 years?), but more importantly, disconnect the speedometer drive cable on a car that has been at rest for a long period of time and do not allow the input shaft to be rotated until the gears can be checked and the shafts lubricated.
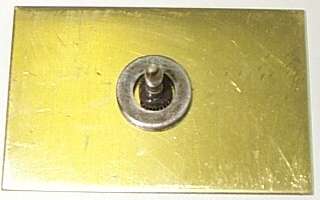
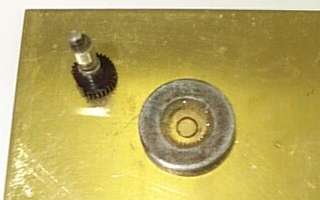
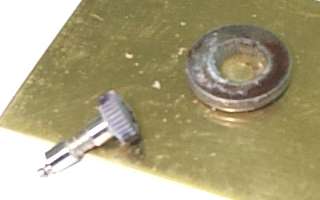
To mold new teeth on this gear: 1. Choose a washer or similar device that the gear fits comfortably inside of and is approximately the same thickness as the gear (approx. 1/8). See Fig. 2. 2. Apply a light coating of oil or mold release compound to all surfaces of the gear. You should remove the thin washer first, and put it in a safe place.
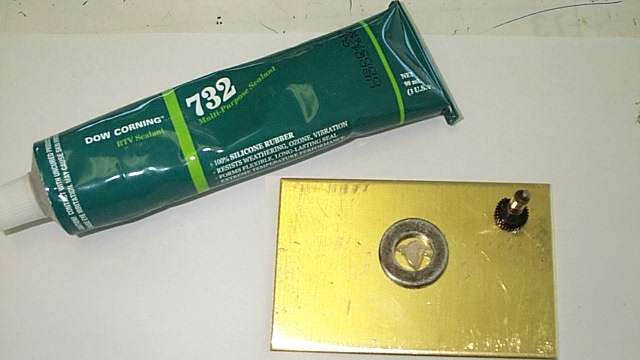
3. Deposit a small amount of RTV or similar compound in the center of the washer (Fig. 3) and press the gear into it to force the RTV around the gear, filling the void between the gear and the inside diameter of the washer completely (Fig 4). Trim away any excess at the top surface of the washer and gear. Allow to cure completely.
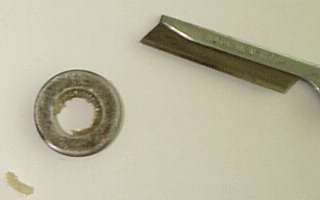
4. Gently rock the gear while pulling it out of the RTV, exposing the outer perimeter of the gear with good teeth most of the way around and bad teeth on one side (Fig 5). 5. Using a sharp blade, cut away the section of the newly created mold where the bad teeth are located (Fig 6).
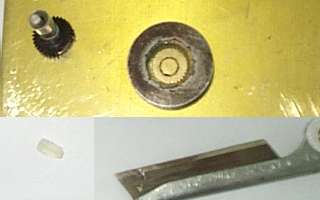
6. Clean the gear to remove the oil or mold release compound. 7. Using a file, remove what remains of the bad teeth from the gear. Undercut approximately 1/16 below the gear teeth to allow for the mold material to contact the main body of the gear beneath the teeth when they are molded. 8. Mix up a small amount of strong epoxy and deposit it into the mold, locating it primarily where the good teeth are molded. If you do not have a layer of cured silicone compound at the bottom of the mold, you should apply a very light coating of oil or mold release compound there first to facilitate removing the cured part. The silicone material has an inherent mold release quality in it. 9. Press the gear into the epoxy with the section without teeth positioned in the mold where the good teeth were molded, forcing the epoxy up into the mold and filling the void between the stripped gear teeth and the good teeth in the mold (Fig 7). Rotate the gear slightly as you insert it to mesh the good teeth in the gear with the teeth in the mold. You may need a small amount of weight applied to the top of the shaft to hold everything in proper position. Trim any excess from the top of the gear and mold. Allow to cure completely.
10. Gently rock the gear while pulling it out of the mold. You should have a gear in your hand with all of its teeth that might need a little trimming with a file and/or sharp blade to remove excess flash material (Fig 9). 11. Install the thin washer over the shaft, lubricate the shaft lightly and install the repaired gear in your speedometer, carefully checking for proper operation. I have no idea how long this will last. Workmanship factors and the type of epoxy used will mostly determine that, so I can only offer this as a possible solution and wish you good luck. Safety Fast! Walt Westhoff |