The MGA With An Attitude
Repairing Start and Choke cables - DT-103D
This article compliments of David Adams (near Gatwick, England)
These cables can become inoperable due to kinking of the inner or outer parts or from corrosion. Knock-off replacement cables are of poor quality, the bezels are of the wrong size and unplated, the knob is the wrong shape and the symbol is applied to the surface and not embossed and filled.
However, repair is straight forward using Bowden inners and outers available from your local bicycle shop or salvaged from an unwanted bike. Brake or gear change cables will be fine. Some inners are impregnated with an anti-friction coating and will not take tinning so make sure you get plain steel or stainless steel.
This repair is of a choke cable. Starter cables follow the same principles but are easier due to the absence of the choke detent mechanism.
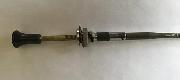
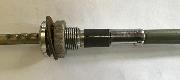
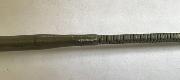
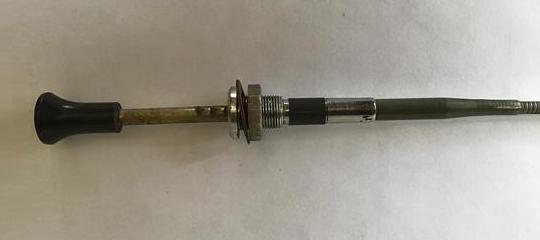
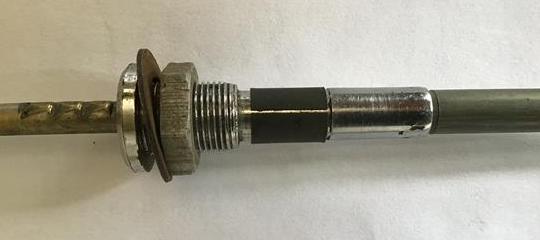
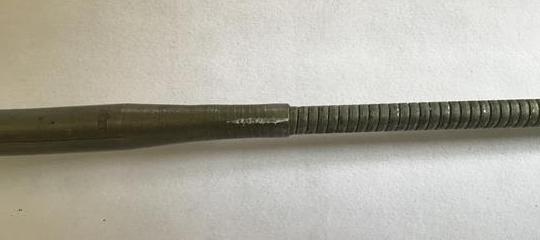
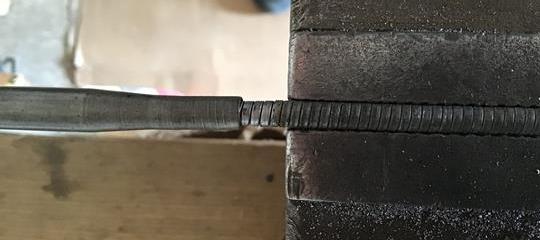
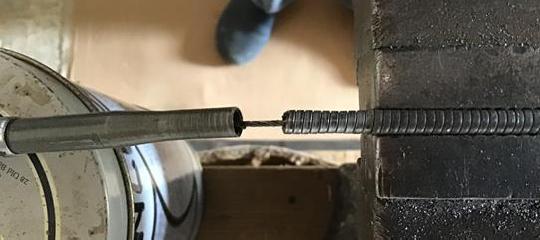
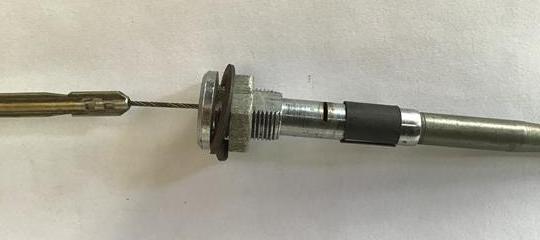
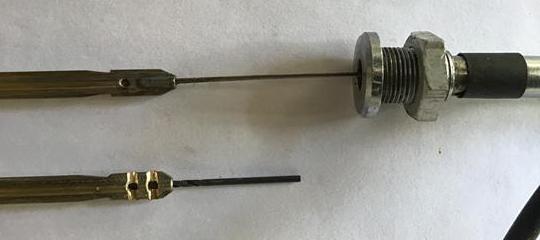
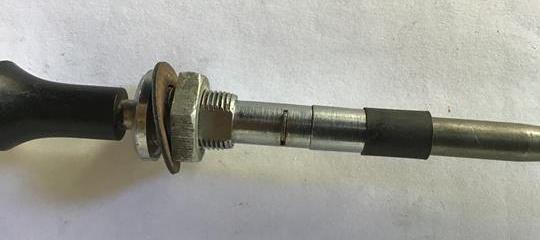
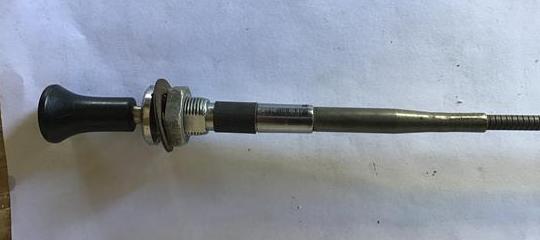
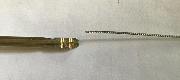
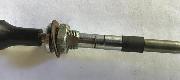
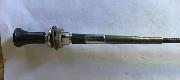
The first picture shows the complete assembly with the knob withdrawn to show the detent dogs. The split, black spring steel sleeve in the second picture retains the detent trigger in its slot. Slide the sleeve away from the bezel thread to access the trigger, twist the choke knob to lift the trigger, remove it and keep it somewhere safe. The third picture shows the outer cable inserted in the body, the chalk mark is on one of two crimps which retain the outer in the body.
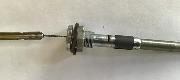

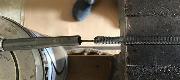
The sleeve is slid back and the trigger removed. In the second picture the crimps on the outer cable have been released by tapping the crimp, gently, with a hammer against the anvil of the vice, the outer is gripped in the vice and then unscrewed from the housing. Note that the outer is laid with a left hand thread so in this case the housing is turned to the right. In the third picture the outer is released, it was screwed in 5/8 up to the shoulder in its counterbore.

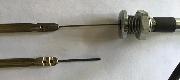
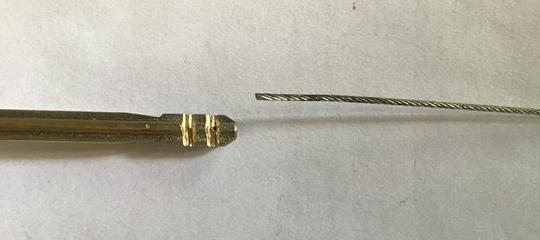
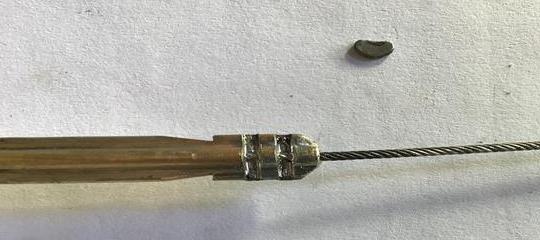
With the inner withdrawn, it can be seen that the cable is fixed into the armature by 2 crimps, not by solder as in the third picture which shows a soldered MGA cable in comparison. The second picture shows the crimps cut down to the hardened cable using a junior hacksaw following which the inner was gripped in the vice and the armature pulled free.
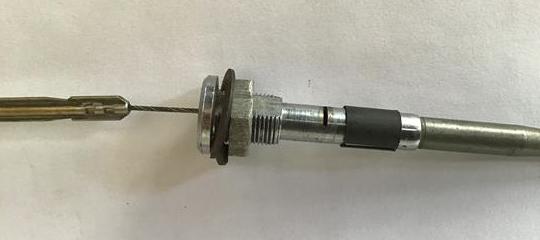
The third picture shows a repaired MGA cable at the top, with its solder hole, and if you are repairing one of these its just a case of unsweating it. The crimped armature is shown with a 1/16 drill inserted to deburr the hole for the new cable. This hole is 1/2 deep.
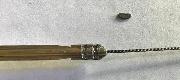
Here is the new inner soldered into the armature and cleaned up to remove excess solder. Upper right is the trigger which fits into the slot in the middle picture. The trigger is 0.036 thick steel sheet and is a chord of a 0.350 circle with the corners rounded off.
The Bowden cable outer is 0.187 OD and can be screwed back into the housing. Oversize outer can be ground down to fit and undersize can be held in with superglue The inner is 0.048 OD. Don't forget to tin the free end of the inner to prevent it unravelling and do that before you lube it up for final assembly.
Finally, for the choke, give the inner cable a good twist clockwise before clamping the free end to the choke linkage.
You should be able to do this repair in about an hour and forever have the satisfaction of the correct knob and bezel smiling at you.
When you are buying inner and outer Bowden cable get enough to do the choke, starter and throttle cable too.
|