The MGA With An Attitude
REPAIR of the ANALOG TEMPERATURE GAUGE 2 -- DT-102B
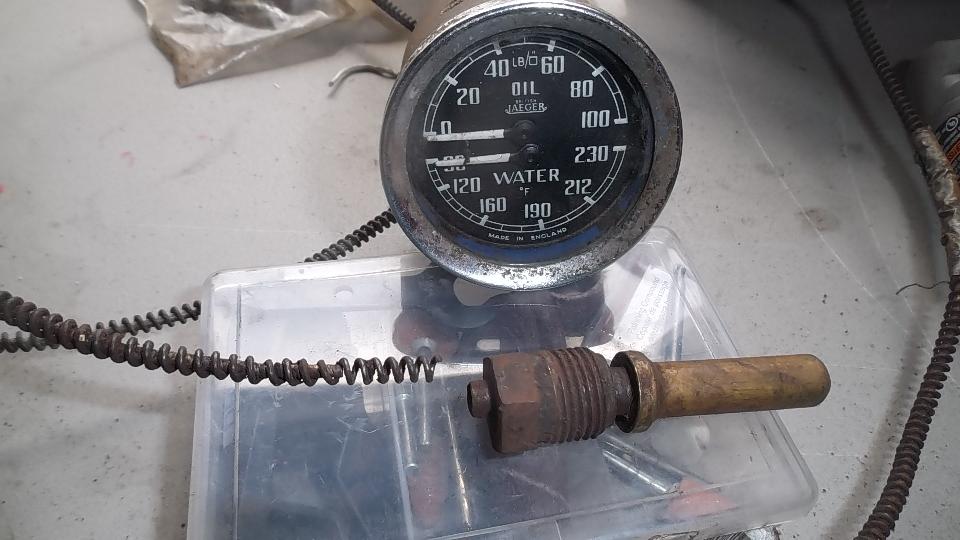
During my travels in April 2016, I stopped to visit Eric Nelson in Zionsville, Indiana. This was a particular moment wen I decided it was time to attempt to repair a defunct analog temperature gauge which had a broken signal pipe that had lost its ether. I had been carrying the required materials around for more than a year.


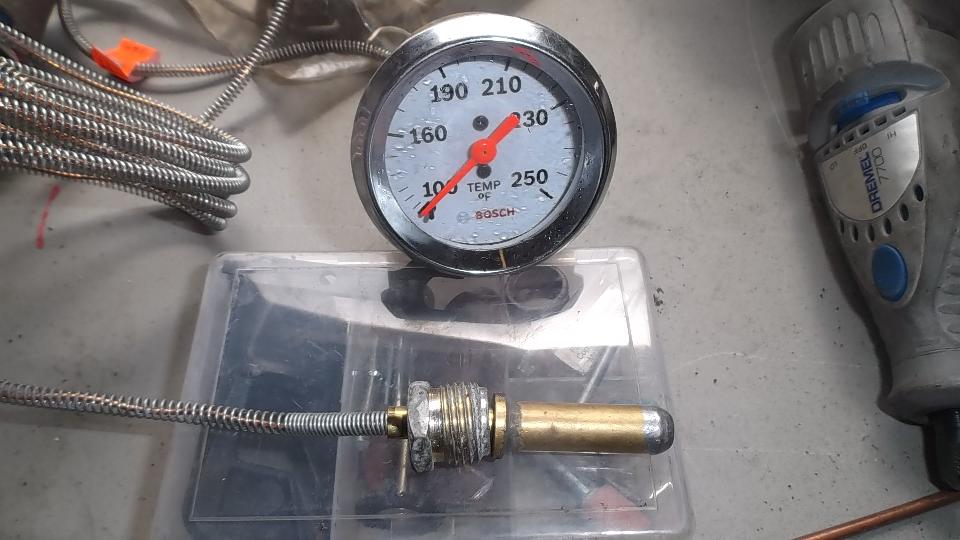
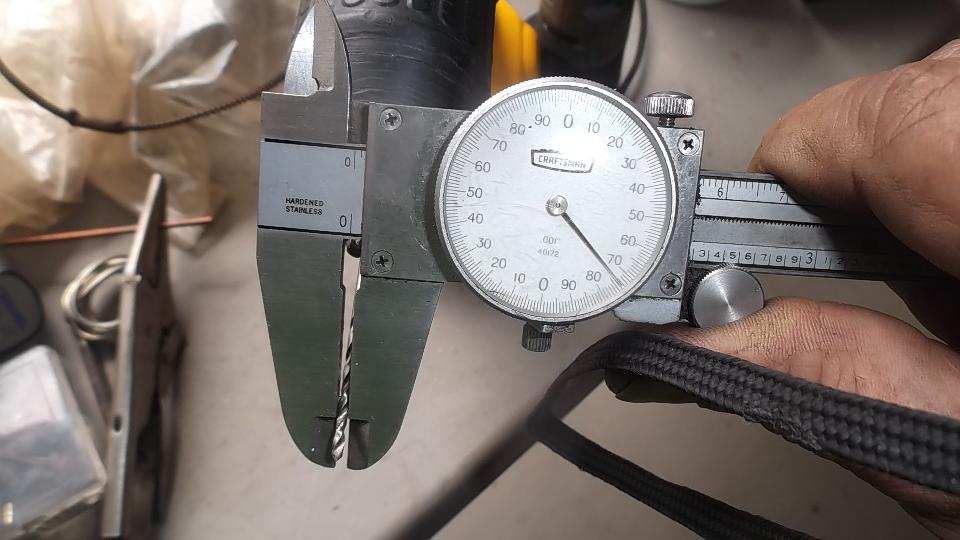
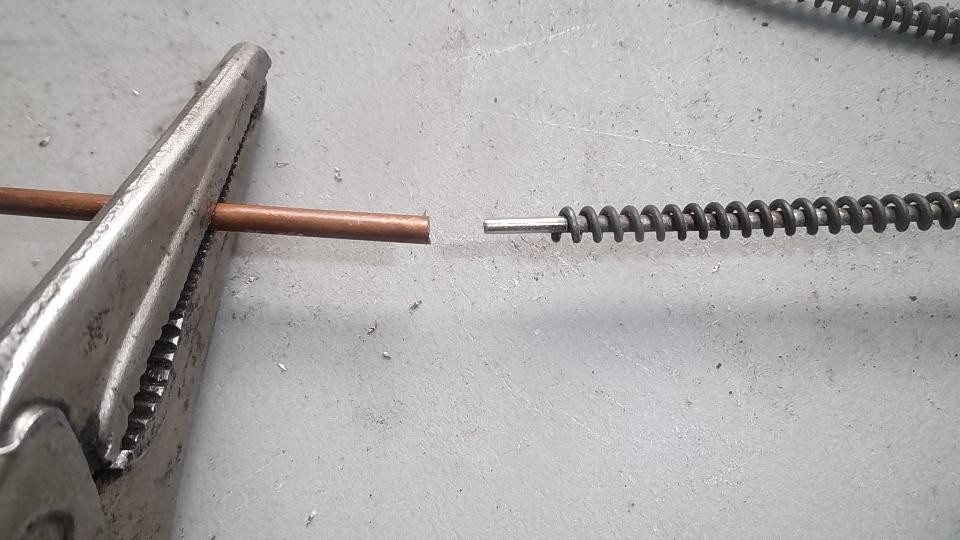
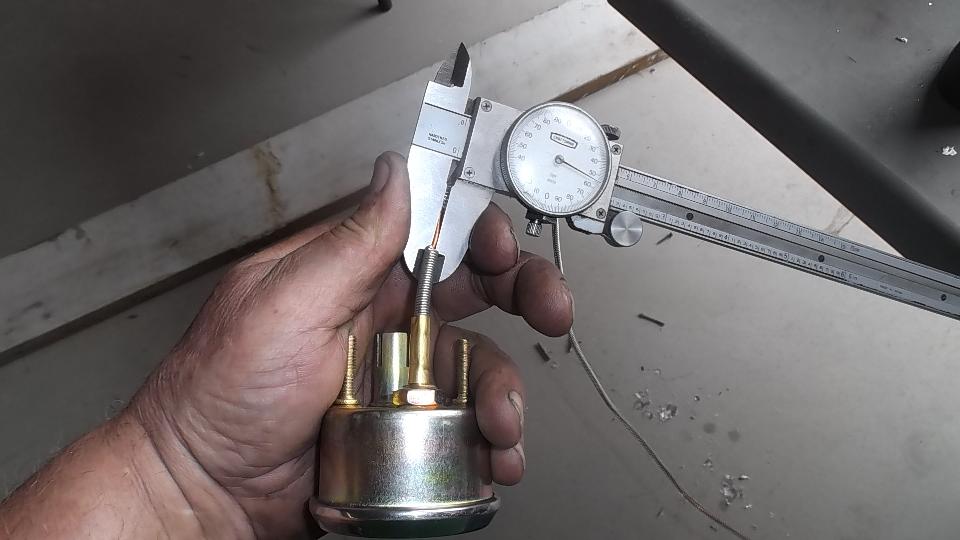
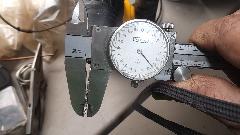
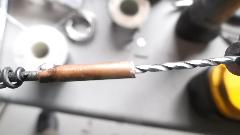
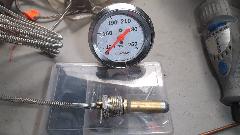 The idea here is to buy a new analog temperature gauge at a local auto parts store for about $15. Cut the signal pipe off of it to graft onto the old gauge (without losing the liquid ether which is very volatile). I started by cutting the protective steel wire coil about six inches aft of the gauge, then pulling the wire back and cutting the pipe with about half inch extension beyond the coil end. Be sure not to close the bore of the pipe. The original steel capillary tube measures 0.070-inch diameter.

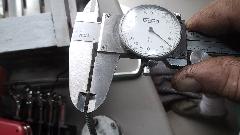
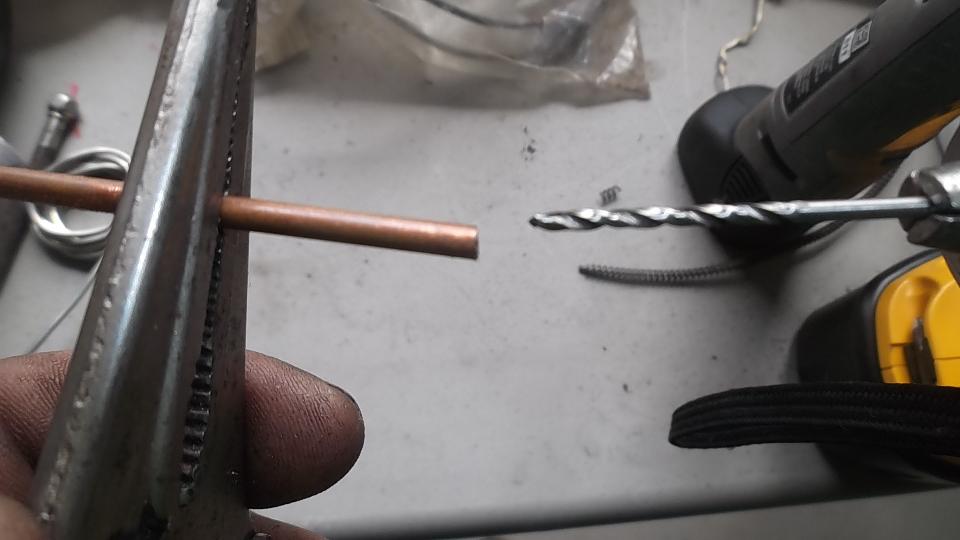
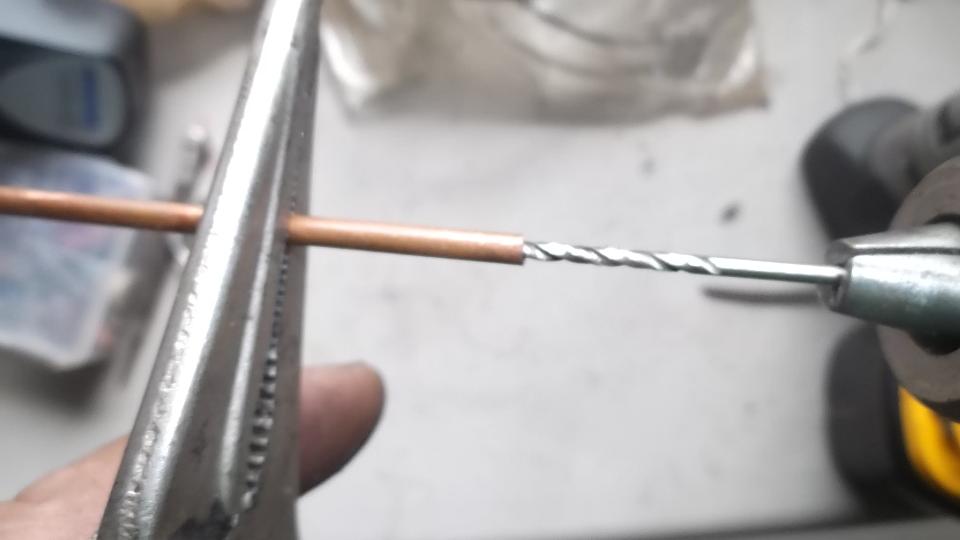
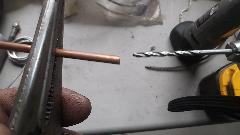
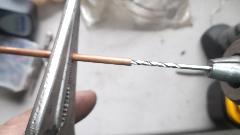
Then I have a piece of copper tubing which I bought from McMaster-Carr, 1/8-inch OD and 1/16-inch ID. I hold this gently with Vice-Grip while drilling an axial hole to 0.075-inch diameter, about 1/4-inch deep, to serve as a slip fit coupling for the 0.070 original pipe.
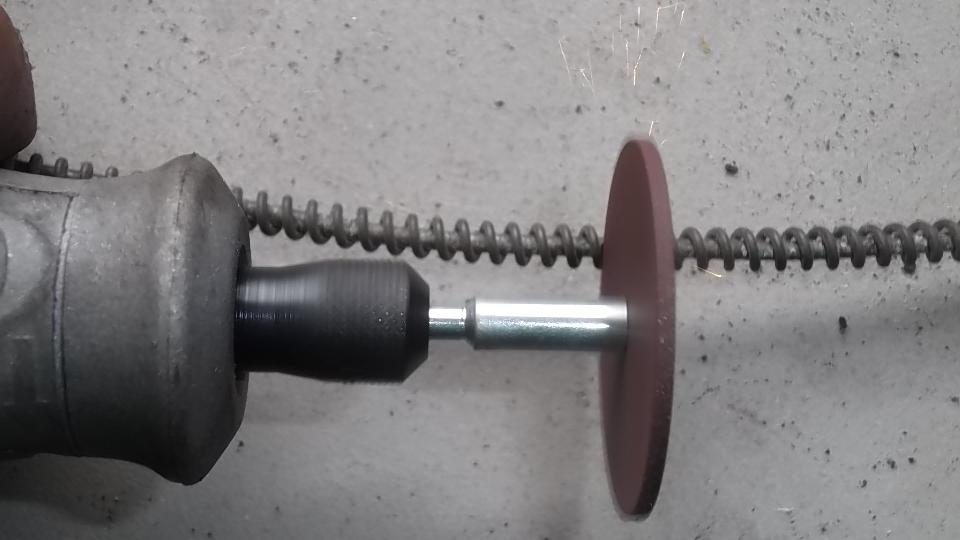
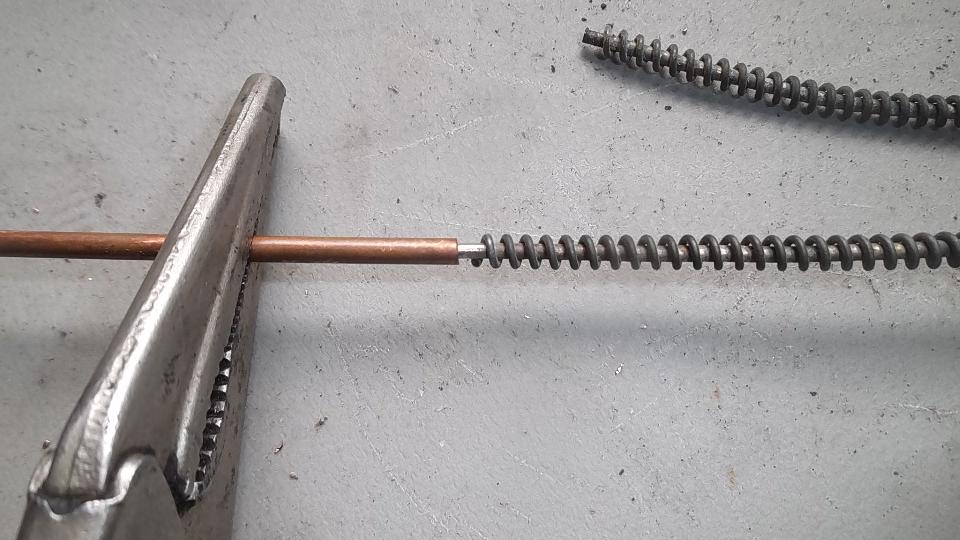
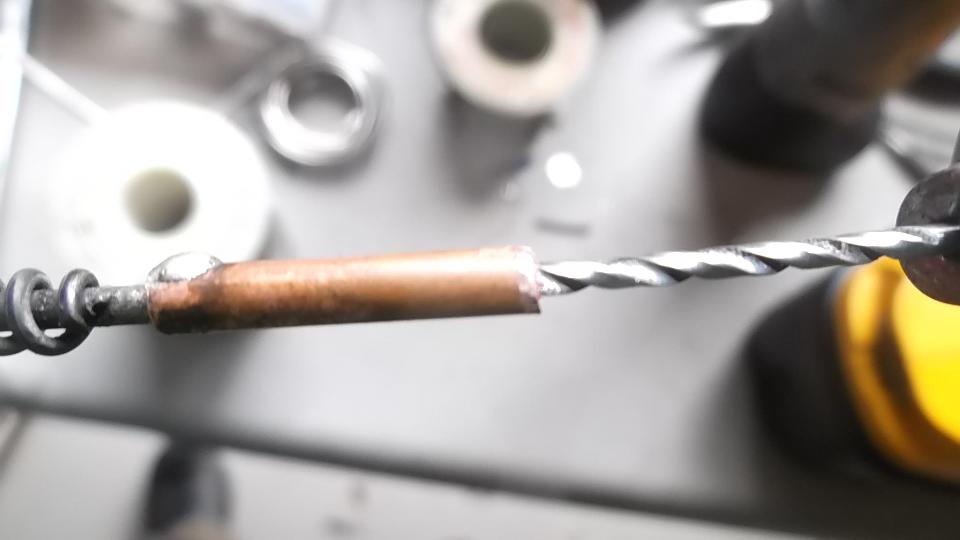
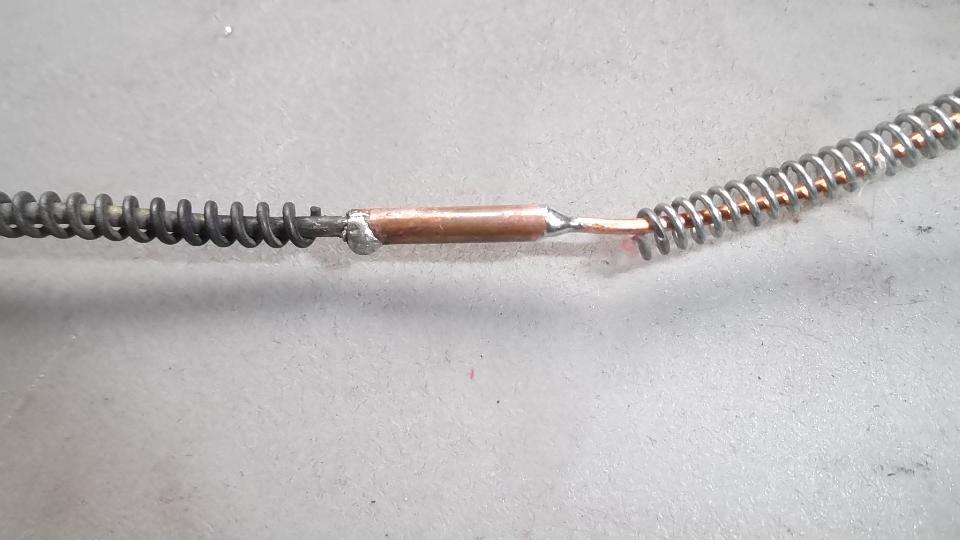
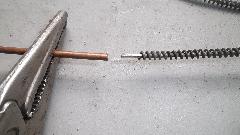
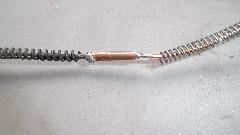
Clean and polish the end of the original steel pipe in preparation for soldering, and test fit to assure the pipe will slip into the copper tube coupling. Then the tricky bit. Get your soldering tools and tin the end of the steel pipe with solder. You should use acid flux to make solder stick to the steel pipe. This must be completely tinned with solder with no bare spots allowed, and do not plug the pipe in the process. You might test the finished solder joint by applying 50-psi air pressure to see if the gauge will swing to half scale. Then cut the tube coupling to about 3/4-inch long. Measured diameter of tubing on the new temperature gauge may be between 0.050-0.060-inch diameter (depending on source of the gauge), and it will most likely be a copper tube. You might use a drill bit a few thousandths of an inch larger then the new tube as a gauge pin to be sure it will slip freely into the fresh cut end of the copper coupling tube. These parts should be new and clean, and will solder up nicely with resin core solder (same as is used for electrical wiring).


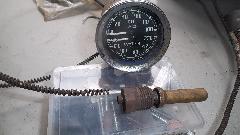
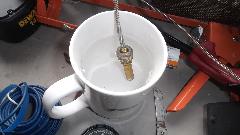
If you are not sure about the bore size of the coupling, you can drill it with a drill bit a bit larger than the new pipe size. Place the new temperature gauge sensor bulb in a pot with water, ice, and a hand full of salt (for lower freezing/melting temperature of the brine solution). This will keep the ether inside the bulb liquid with no vapor pressure. That is, keep the liquid ether from boiling during the rest of this process. Then cut the spiral wire near the back of the new gauge, pull the spiral back a bit and cut the small pipe (without closing the small bore hole). Insert the new small pipe into the slip coupling and solder it together. This should result in a neat little solder bead all around, perfectly sealed.
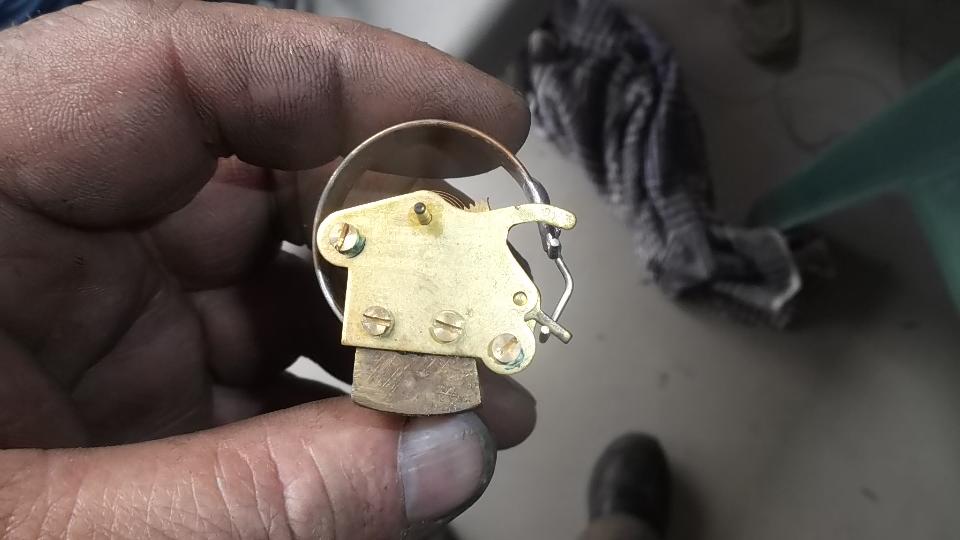
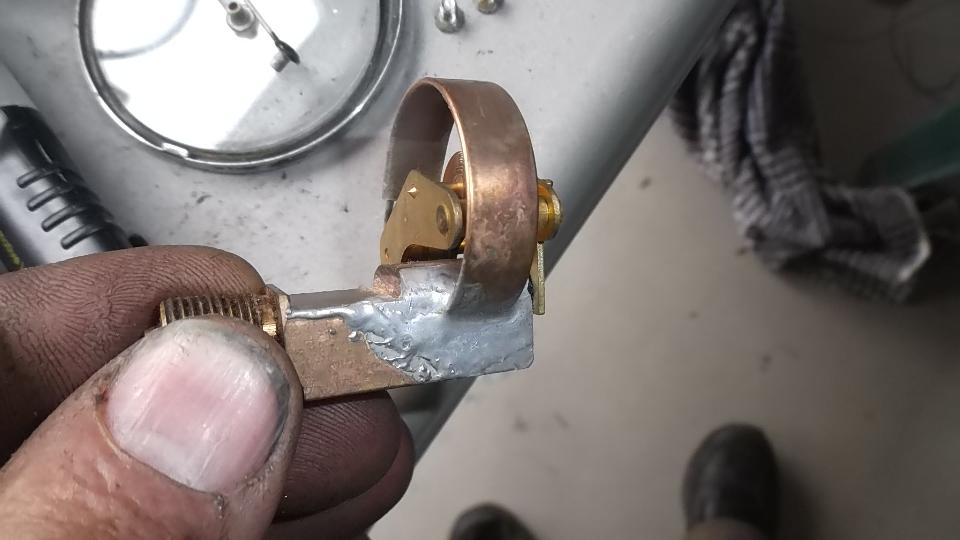
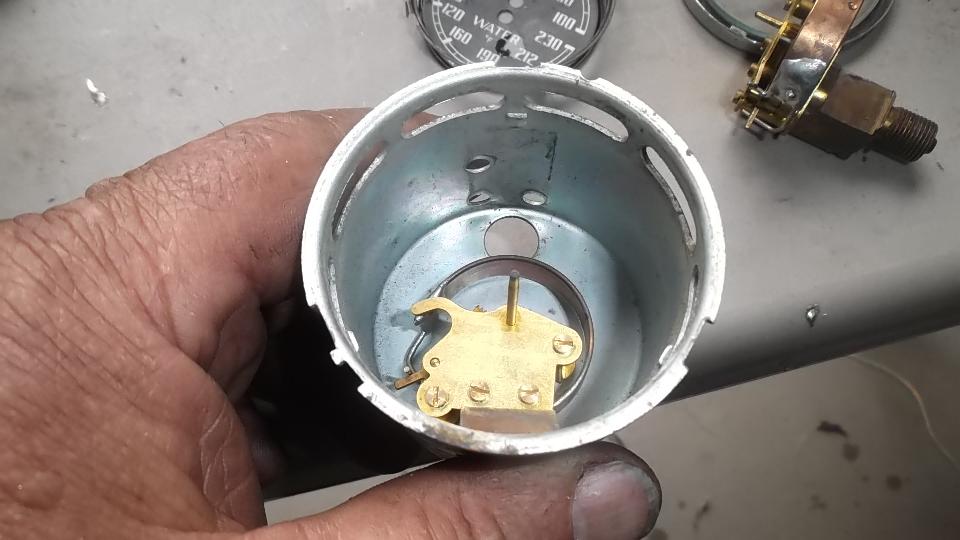
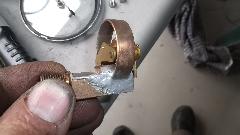
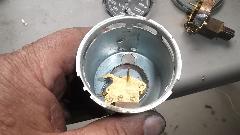
Below are pictures of the oil pressure bourdon tube when removed from the gauge case, and the temperature-(pressure) bourdon tube still in the case. These photos are rather incidental, as you should not need to disassemble the instrument to do the ether pressure pipe repair.

I am disappointed to report that at time of this writing the first attempt at this repair was not successful. Reason for the failure was using cold water in the cup rather than salt solution ice brine. Yes, kick myself, but we were working in a remote shop without ice handy, and though we might give it a try with cold water, but subsequently boiled off the ether. So in the not too distant future I expect to buy another analog temperature gauge and try the last step again. Check back later.
|