The MGA With An Attitude
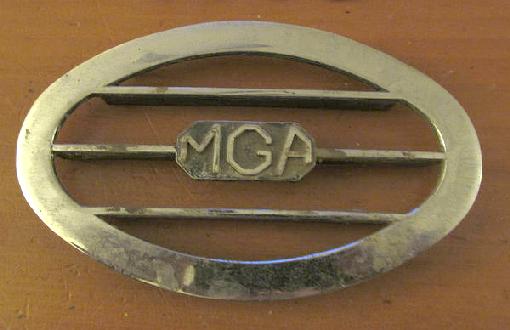
COWL VENTS Broken Legs, MGA -- BD-127A
On Dec 14, 2016, Mark Wellard in Brisbane, QLD, Australia wrote:
"Has anyone had any luck repairing missing pins on the cowl vents? I have two pristine early vents that are missing a couple of their pins, and I would like to replace them if someone can suggest a reliable method".
Those pins are often broken because original installation used Tinnerman fasteners that are designed to push on and never come off. Attempting to remove the fastener often results in a broken pin. Aside from the question of repairing the broken pin, I would suggest NOT using Tinnerman fasteners for next installation (unless it wants to be a concours show car).
Ron Bissland in Kenosha, WI, USA wrote:
"I was going to try and repair but the metal is too thin. I got some 3M emblem double sided tape that is pretty thin but really strong. We use it to attach the Snapon Trim on our custom ordered tool boxes".
Henry Miller in Chair City, NC, USA wrote:
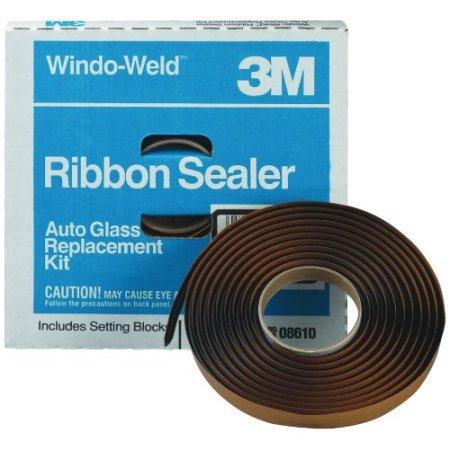
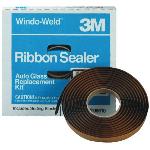
"This stuff works well and allows you to pull the emblem off and put it back on when you detail the car to keep polish out of the crevices". 3m 08610 Window-weld Round Ribbon Sealer, 1/4" x 15'
Nick Kopernik in Redding, CT, USA wrote:
"I broke a pin on the MG dash logo and fixed it by drilling a small depression into the plate where the leg broke off (careful not to go all the way through). I then cut a nail to size and used JB Weld to attach it to the plate. It's held together now for years. -- In place of the metal spring clips holding the cowl vent in place, just use some automotive vacuum plugs or rubber hose; they hold well and come off much easier than the metal clips".
Gary Edwards in Kernersville, North Carolina, USA wrote:
"You can use small engine vinyl fuel hose".
On Dec 28, 2016, Ron Bissland in Kenosha, WI, USA wrote:
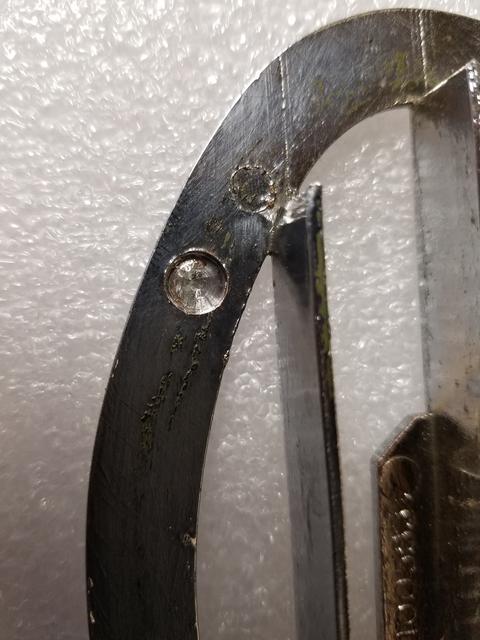
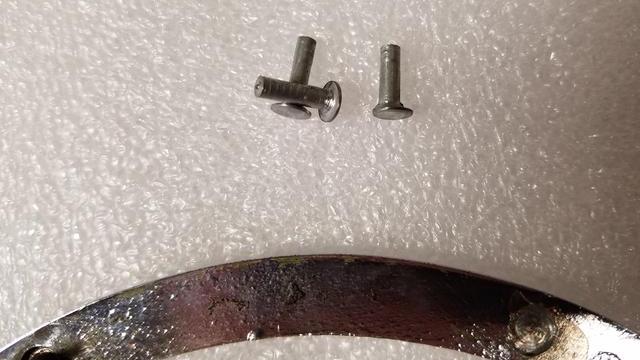
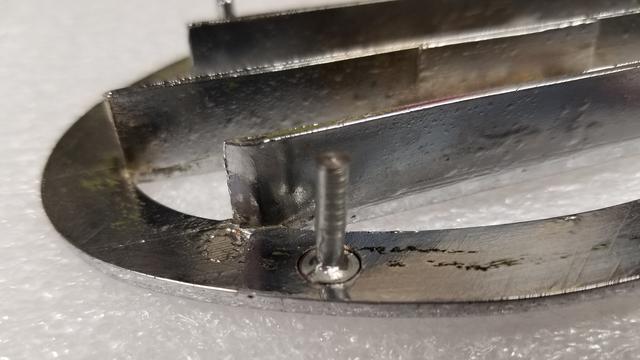
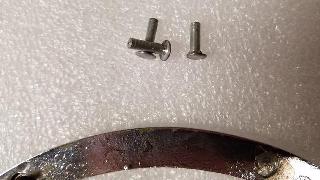
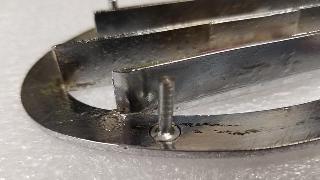
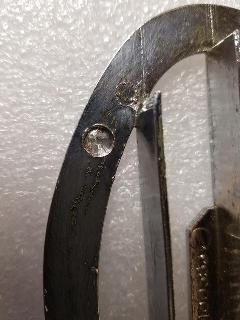 "I have played around a bit with the vents and I think I got it. I have the original vents so I want to reuse them, but yes, I have some broken pins. Basil had a great idea so I used it as my base, a roofing nail. I started out drilling an 1/8" hole where the post is with a bullet drill bit. That got me just a fraction below where the stud sticks out. Then I used a 1/4" flat drill bit (the drill bit has no point and cuts flush). I only drilled in about 1/16", just a bit deeper than the thickness of the nail head. I put the nail in a drill and turned it against a file until it fit snug in the hole. The nail sits just a fraction below the surface of the emblem thickness. The plan will be to JB Weld the nail to the vent, then sand smooth. I did not attach the nail to the unit yet as I want to send the vents out to be re-chromed. When they come back I will attach, but I see no reason why the JB Weld epoxy will not work. We will see after I get the vents rechromed".
|