The MGA With An Attitude
DOOR HINGE PIN Repair #1 -- BD-103B1
Addendum April 9, 2018:
For removing the pins, I think the original pin was 1/4 inch diameter, and the holes might be a couple thou ovesize (before wear). A 1/4 inch diameter punch should go through, and you should be able to drive the pin out with a hammer. For the one that does not have a head on the pin, be careful which direction you drive it, as there is a knurl on one end of the pin, and you want that to come out first, not to drive the knurl all the way through the bores.
On Apr 16, 2016, Alan Wiedie in Bolton, CT, USA wrote:
"I'm in the process of fitting the doors and fenders back on the car. The hinges didn't seem bad in hand, but there was a fair amount of play in the pins when mounted to the car. I could lift the door almost an 1/8" at the B post. The latch pin will align the door when closed, but the slop bugged me and I decided to somehow fix it.
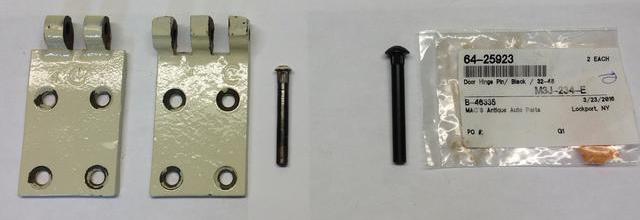
 My solution was to procure oversize pins and replace the original 1/4" ones that had worn a fair amount where they pass through the two leaves of the hinge. The ID of the two leaves was probably worn also or made slightly larger than the pin size originally. After some searching on the internet, I found just what I needed at www.MacsAutoParts.com, a company that specializes in reproduction parts for old Fords. The pins are for '32-'48 Fords and are .280" OD x 2 1/4" with knurling on the shaft under the head - part # 64-25923 and a whopping $.99 each. My friend George, a retired engineer and car guy, has a metal lathe which we thought might come in handy for the job, so we did the deed at his workshop. My solution was to procure oversize pins and replace the original 1/4" ones that had worn a fair amount where they pass through the two leaves of the hinge. The ID of the two leaves was probably worn also or made slightly larger than the pin size originally. After some searching on the internet, I found just what I needed at www.MacsAutoParts.com, a company that specializes in reproduction parts for old Fords. The pins are for '32-'48 Fords and are .280" OD x 2 1/4" with knurling on the shaft under the head - part # 64-25923 and a whopping $.99 each. My friend George, a retired engineer and car guy, has a metal lathe which we thought might come in handy for the job, so we did the deed at his workshop.
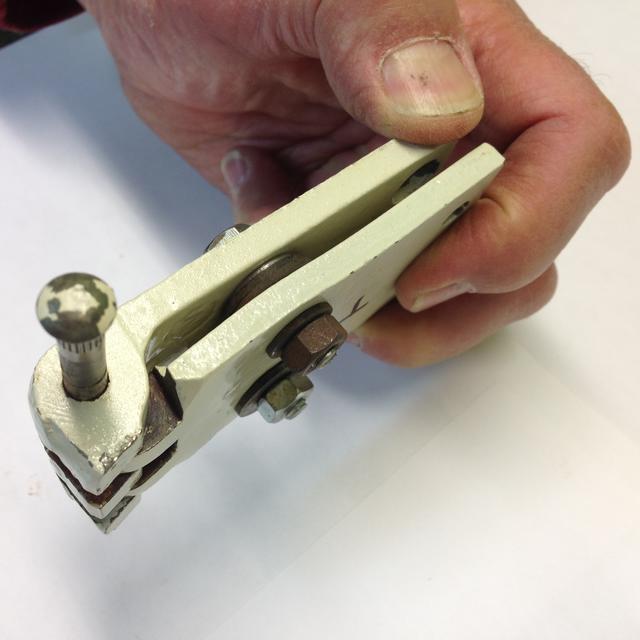
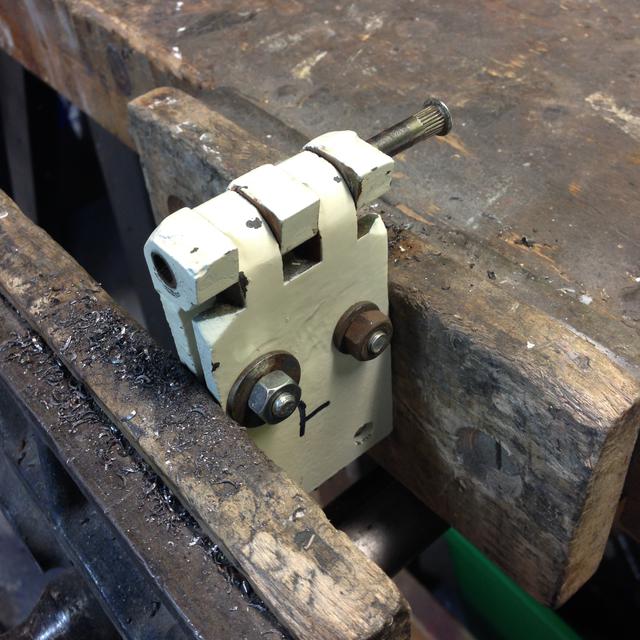
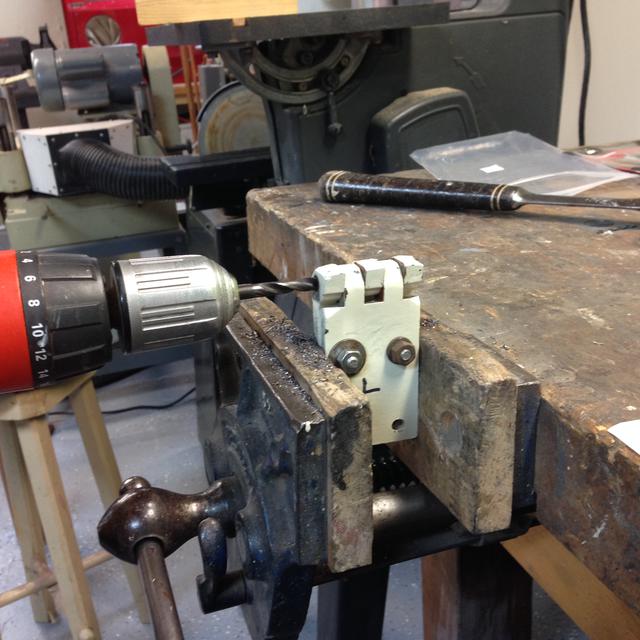
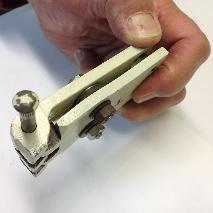
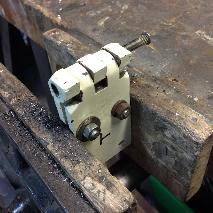
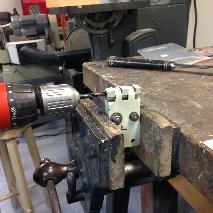
First step was to put an original pin back in a hinge almost all the way to align the leaves and then put washer shims between the leaves at the two holes closest to the pins, keeping the leaves parallel, and bolting them tight together. I mounted the hinge in a vise and pulled the pin back out to about the half way point. Next step was to enlarge the hole in the hinge. We decided that it would be better using a hand-held drill rather than in a drill press to be able to better 'feel' the centering of the drill. One of us drilled and kept the bit aligned left to right while the other monitored up and down alignment. First drill used was 17/64" (0.266"). It centered nicely and the cast iron was easy drilling although with such a small cut, the drill had a tendency to get pulled into the bore - easy does it. When the drill bumped into the pin, I pulled the pin out and drilled through. Next drill used was 9/32" (.281"), and this drilled straight through with one easy pass, centering itself as it went.
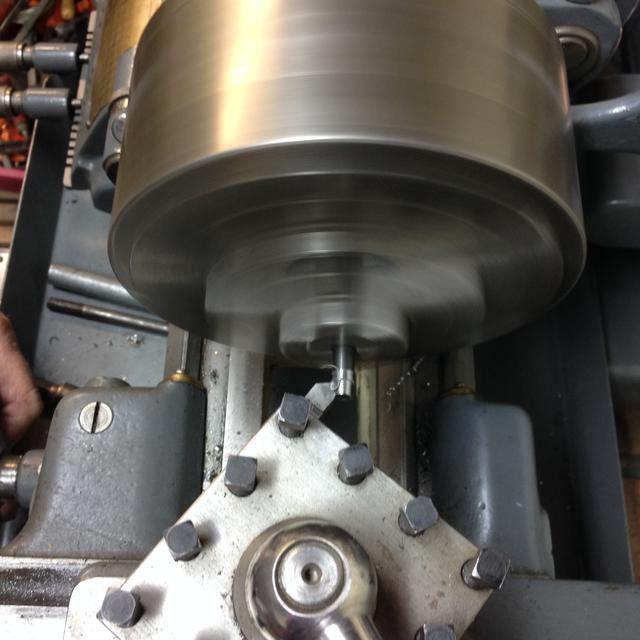
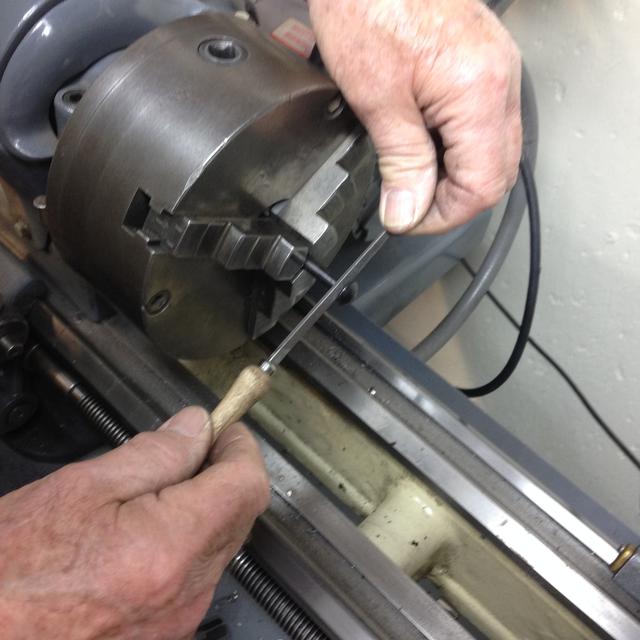
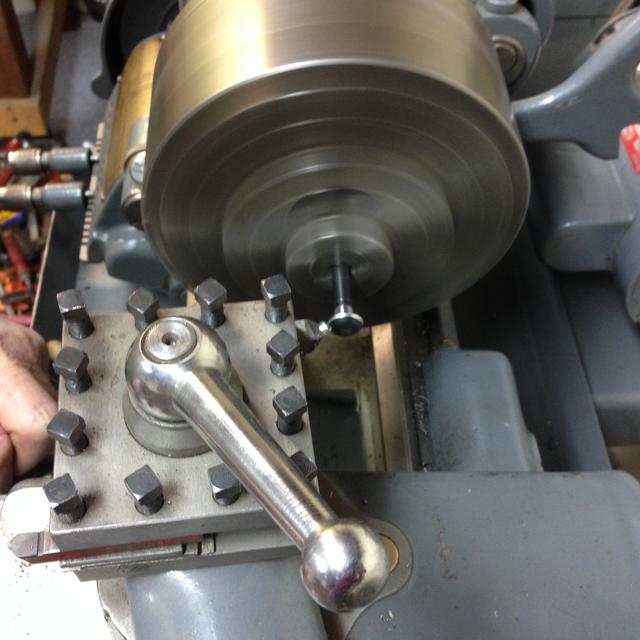
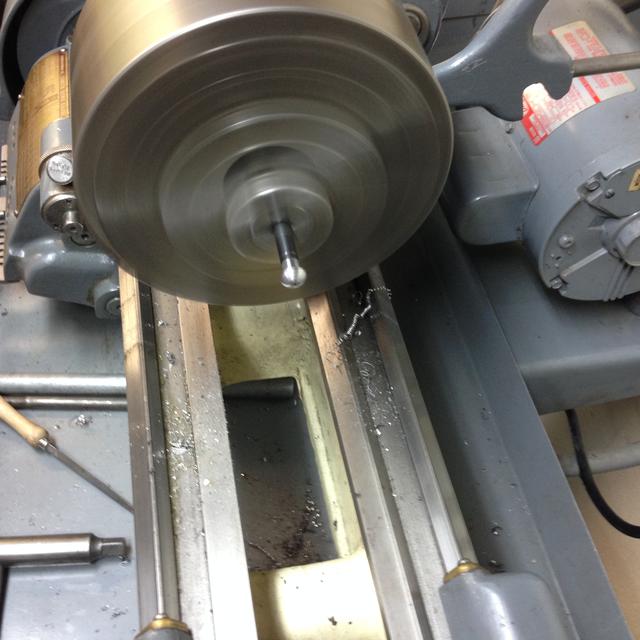
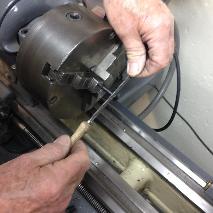
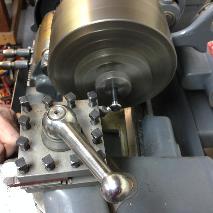
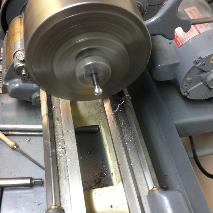
 The pin needed to be shortened by 1/4", done on the lathe (although it could be done with a metal saw and file). The knurling was pretty aggressive, so George smoothed it down on the lathe using a file to just a couple of thousands larger than the shaft. We also turned the head down to the diameter and shape of the original pin. With a little oil the pin slid into the leaves with firm hand pressure leaving no perceptible movement when the bolts and shims were removed. Finally, I drove the pin home with a hammer. The second hinge went as well as the first and they are now mounted back on the door and the door to the car. There is no movement in the hinges now. Passenger door is next.
|