The MGA With An Attitude
MGA Guru Is GOING MOBILE - (February 1 - February 15, 2024)
Thursday, February 1, 2024:
Some question about MGA Twin Cam rear axle halfshafts. The shafts with splines on both ends are same part number as MGA 1500/1600 wire wheel car half shafts, just different wheel drive hubs pressed onto the outer end. -- Someone with a Morris Minor wondering why his wiper motor suddenly stopped working in mid stroke (same wiper motor as MGA). Most likely worn brushes and/or burned commutator. Fortunately the wiper motor in a MM RHD car in Australia is much easier access than for an MGA LHD in North America.
Friday, February 2, 2024:
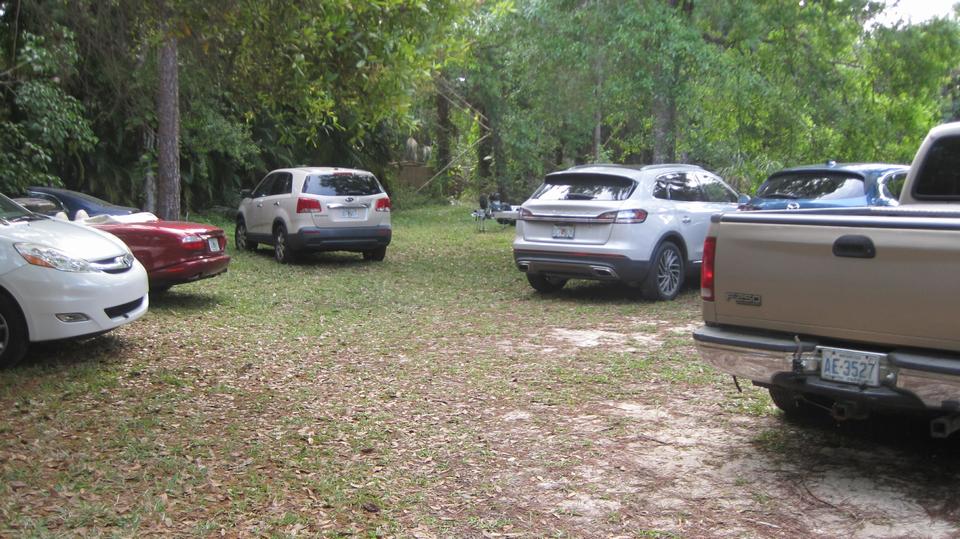
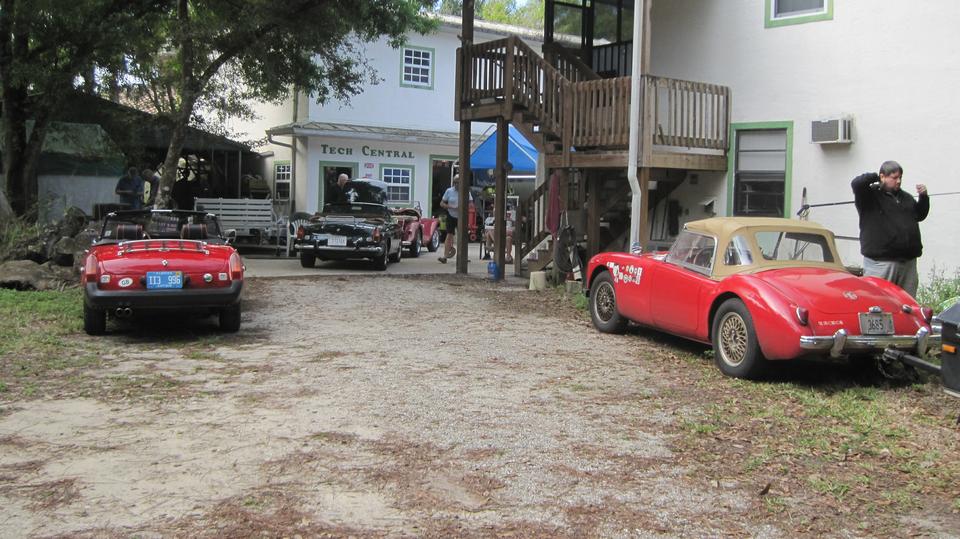
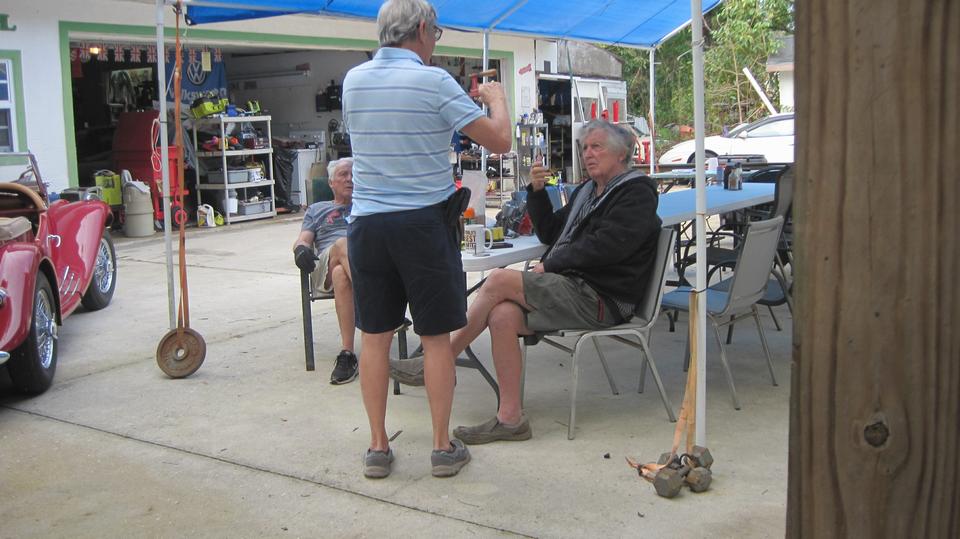
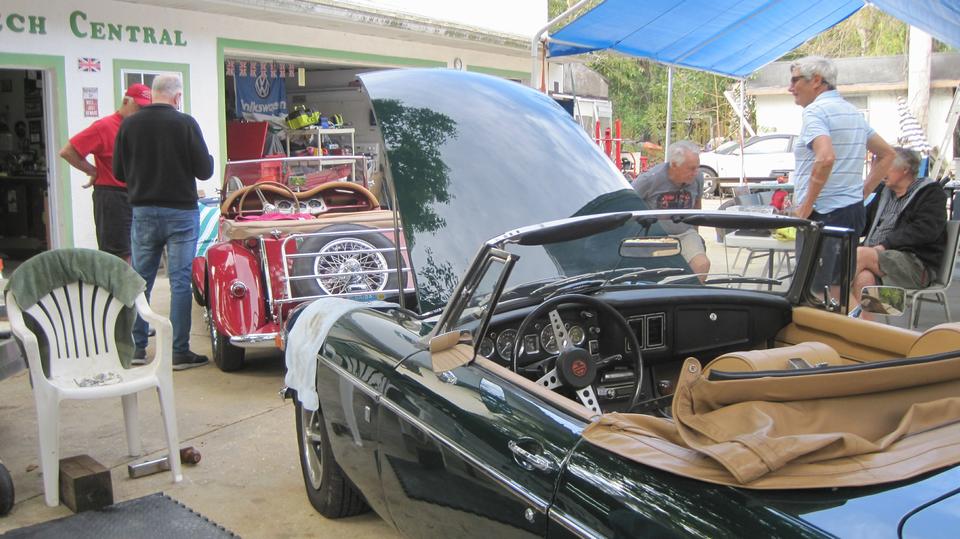
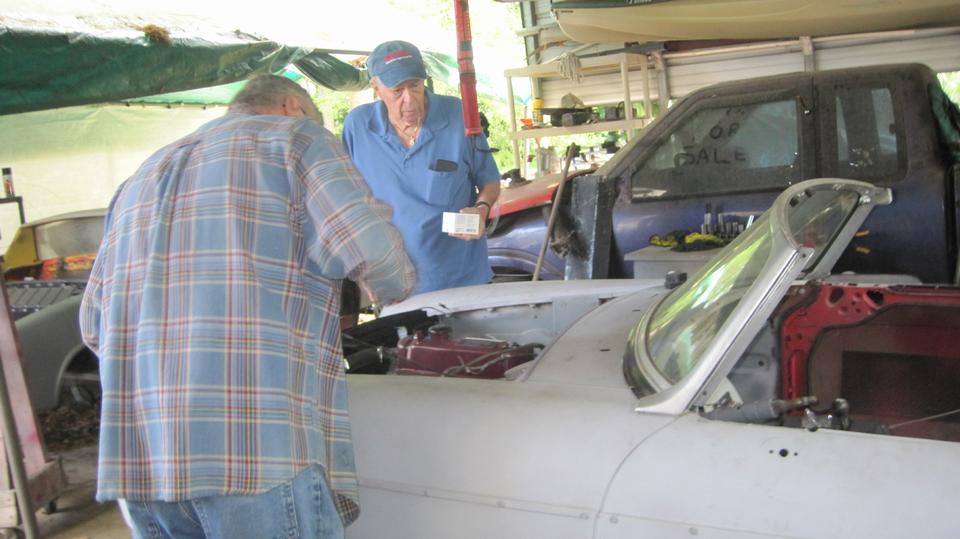
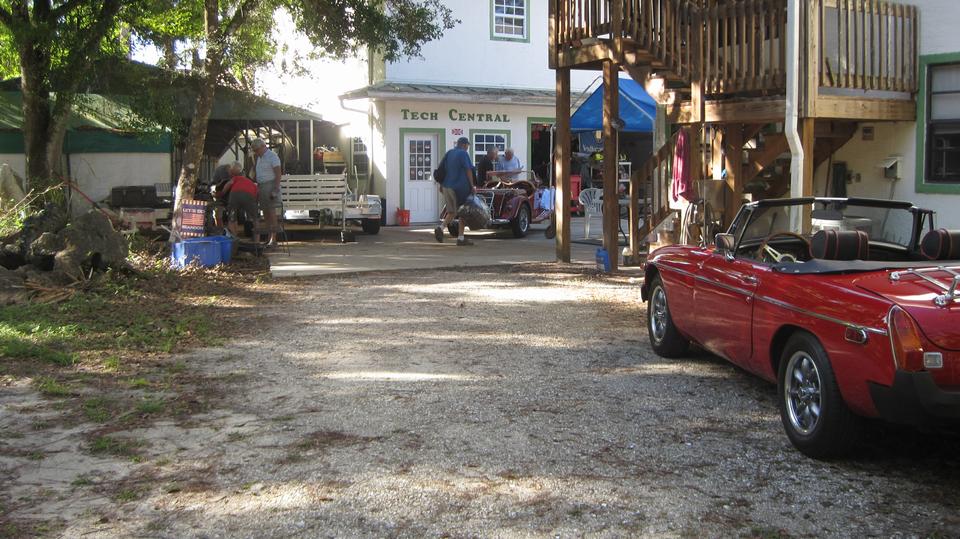
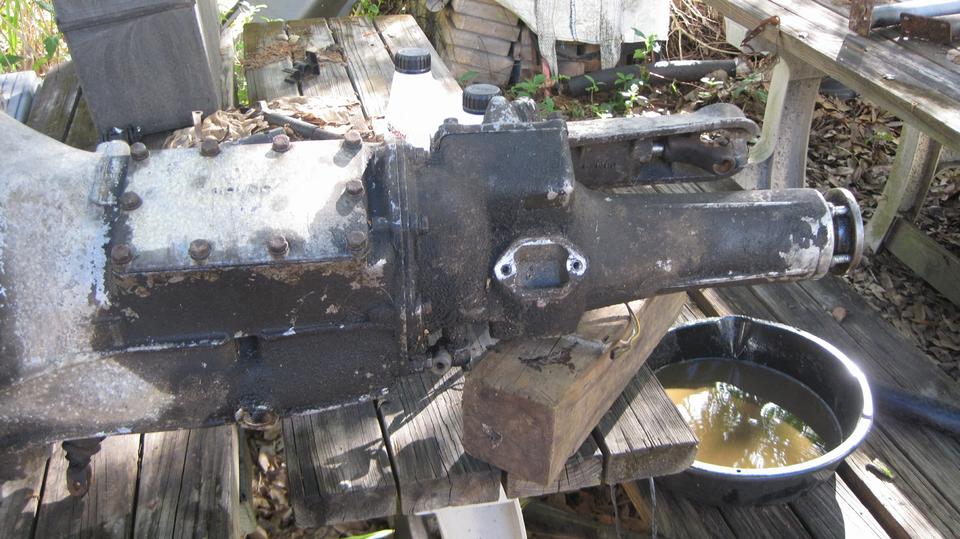
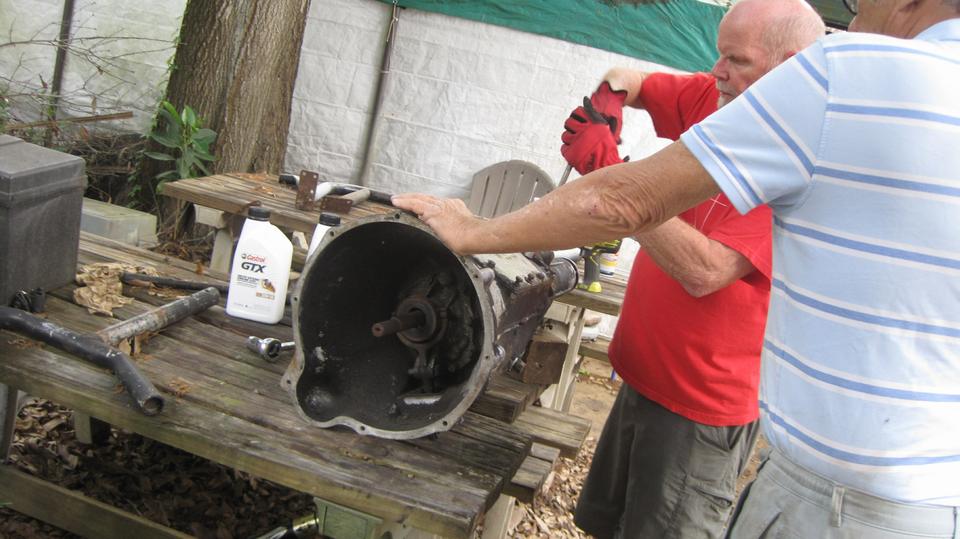
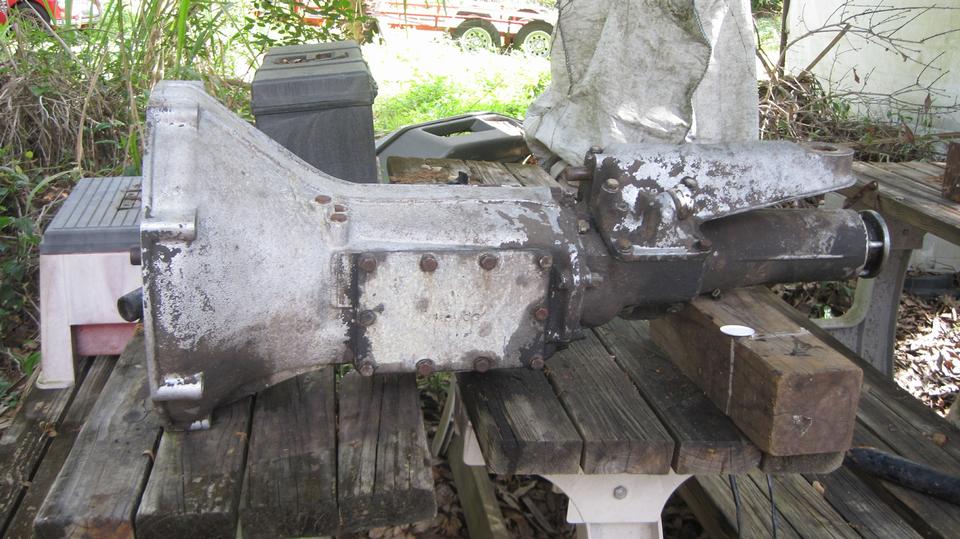
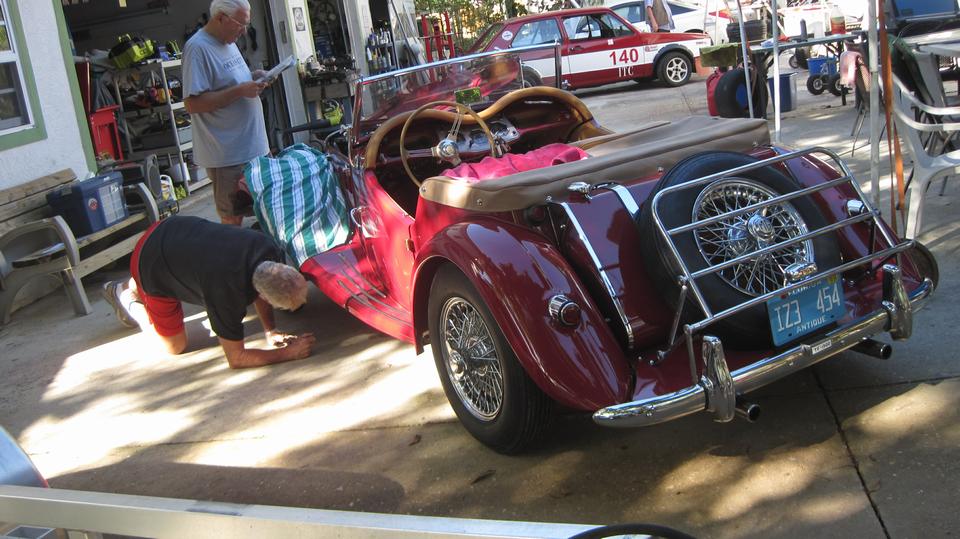
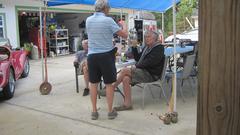
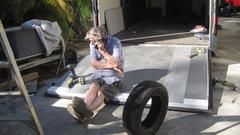
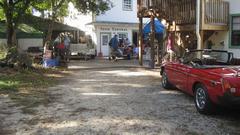
Tinkering day at Tech Central in Bonita Springs, FL. There are a few things on our to-do list for the MGA, not so urgent, so likely can wait a little longer. Bit of a parking problem (not all bad), so we put the MGA in the grass near the house. Just as well, as we would be running to the trailer for parts and tools a few times. I thought the guys were working on the roll bar, but not so. They were trying to salvage an MGB 4-synchro gearbox that looked like it had been in some water, kind of corroded with frozen shifter parts. They had it soaking in kerosene for a while, then fighting with the shifter parts, and finally got it shifting through all the gears before lunch break.


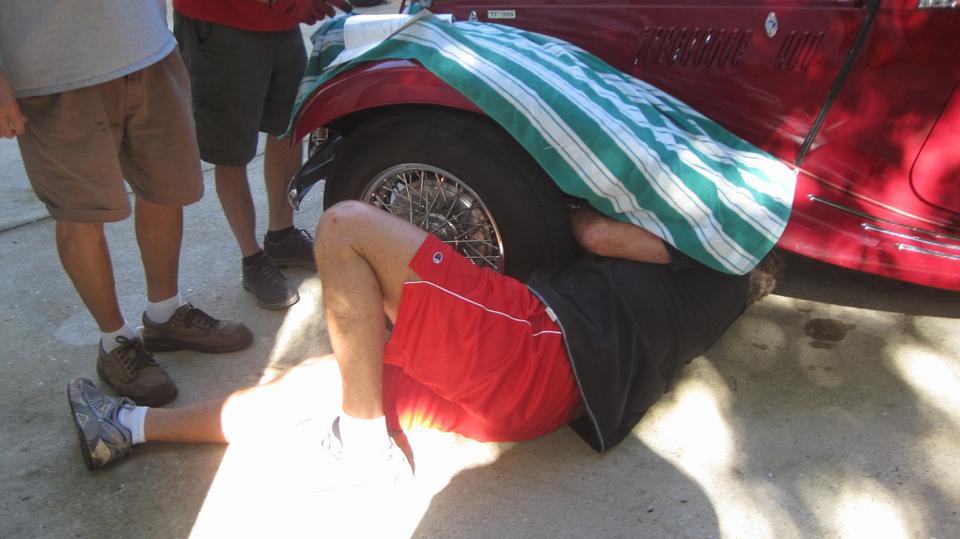
Bit of a tech discussion with the guy in the stripe shirt asking questions about front suspension swivel links for an early MGA. We would get heavy into that later. The MG TD had questions about adjusting door latch strikers to make the doors close and latch tighter. The MGB had some bad running problem that was intermittent, but fouling #3 and #4 spark plugs badly. We would get into that one more later too. Meanwhile, go retrieve our new door hinges that had been hanging out to dry for a week. Being Rustoleum, the paint was dry but still soft after a week in the breeze. Set those aside until we can find time to install them.
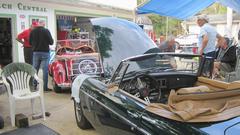

Tina the wannabe race car was about to get some Cleco fasteners, so that looks like some more sheet metal repairs. The Excalibur was getting more attention to wiring, which turned out to be a disconnected ground wire for the turn signal dash light, and a new flasher unit that was bad right out of the box.
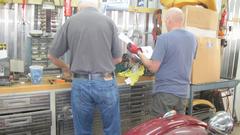

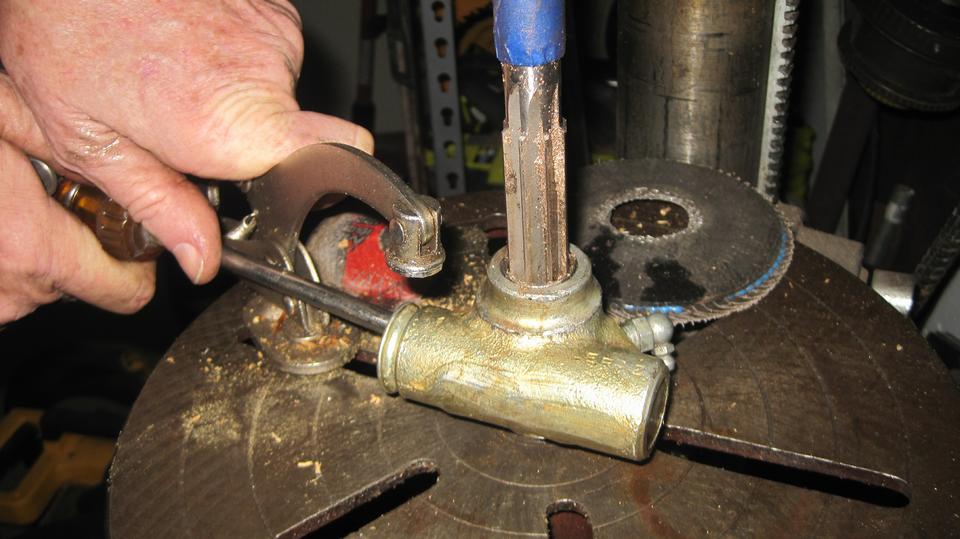
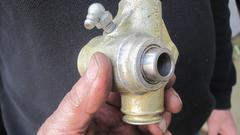
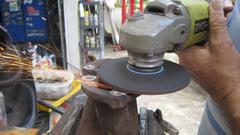
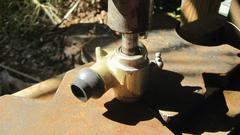 My first project for the day was a set of front suspension trunnions for a 1957 MGA. The owner doing restoration work had pressed the bushings in with incorrect orientation, with the side relief notch facing the grease fitting rather than facing the swivel pin. He had also pressed the bearing tubes into the bushings without reaming the bushings, so everything was solid tight, could not move. So first business was to use the 20-ton hydraulic press to remove the bearing tubes, and remove the bushings, and reinstall the bushings in correct orientation.
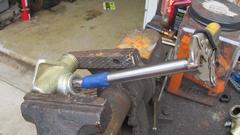
 Then grab the 3/4-inch reamer out of the Magic Trailer, and get to work with the bench vice and Vice-Grip and pry bar to manually ream the first bushing to finish size. That's a trick I learned back in the mid 90's to avoid a time consuming trip to a machine shop, and it has served me well, but it is a lot of work. Then it dawned on me that Tech Central has a drill press that I had forgotten about. So it was way much easier to ream out the other three bushings. Send that guy on his way with a big happy grin on his face. Then grab the 3/4-inch reamer out of the Magic Trailer, and get to work with the bench vice and Vice-Grip and pry bar to manually ream the first bushing to finish size. That's a trick I learned back in the mid 90's to avoid a time consuming trip to a machine shop, and it has served me well, but it is a lot of work. Then it dawned on me that Tech Central has a drill press that I had forgotten about. So it was way much easier to ream out the other three bushings. Send that guy on his way with a big happy grin on his face.

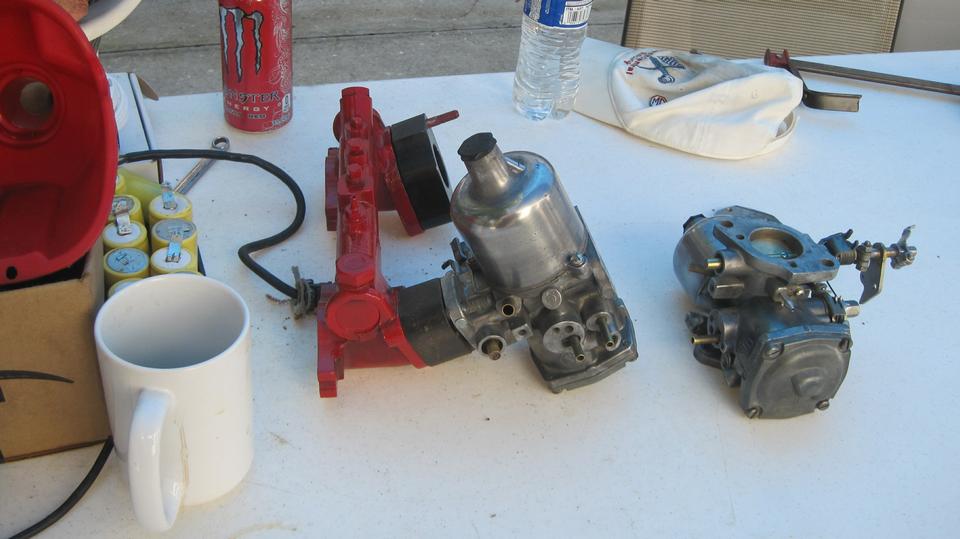
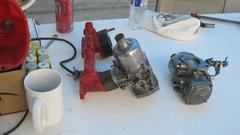
The next picture is Jerry working on camshaft installation and timing on the Rabbit race car, just finishing up. So careful to get everything just right, but he forgot to remove the wrench from the crankshaft nut. When trying first start of the engine, the wrench hit some obstacle, the nut unscrewed itself, the timing sprocket fell off the crankshaft, and it lost all of the cam timing setup. Bummer. Just step back, walk away from it, and take it up again tomorrow. -- Then a set of SU HIF-4 carburetors freshly rebuilt and in process of reassembly.
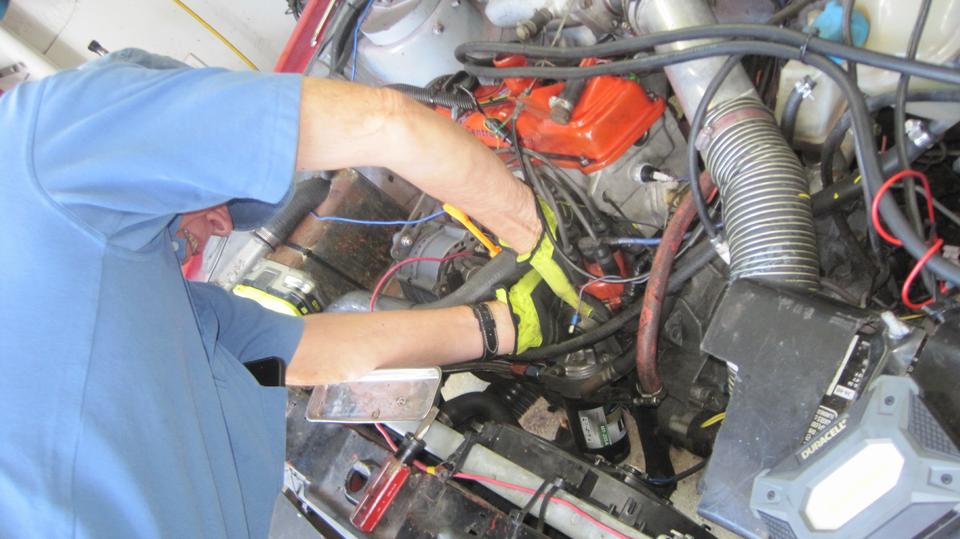
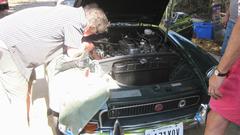
Finally we were back to the bad running green MGB. Fouled out spark plugs, so they installed a new set of plugs. #3 and #4 plugs quickly fouled out again to the point where it wasn't firing on #3 at all, just while it was sitting there trying to get tuned up. Conclusion is rear carburetor had a severe fuel bypass leak with the cold start enrichment circuit, so these carbs were going to need a fresh gasket set. Chore for another day, so get it back together enough that it could be driven home.
Saturday, February 3, 2024:
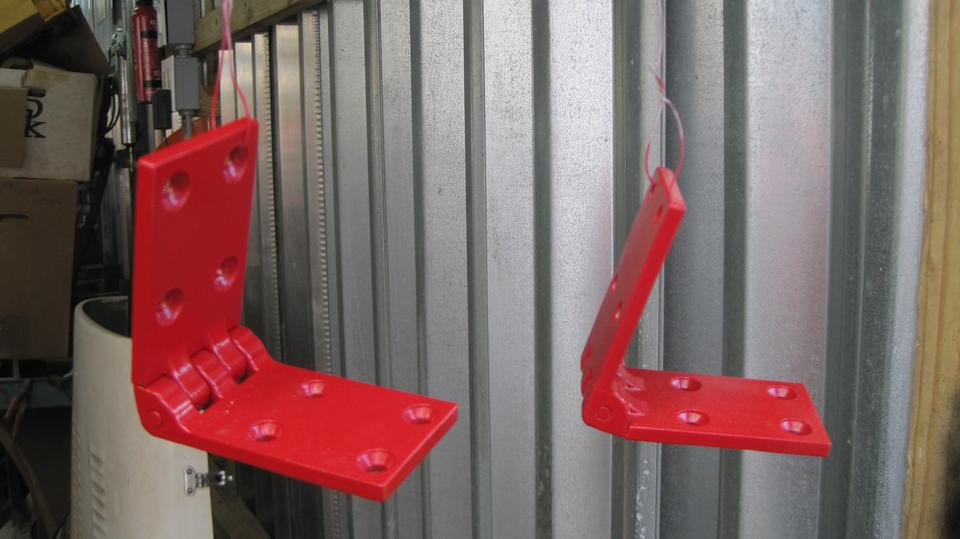
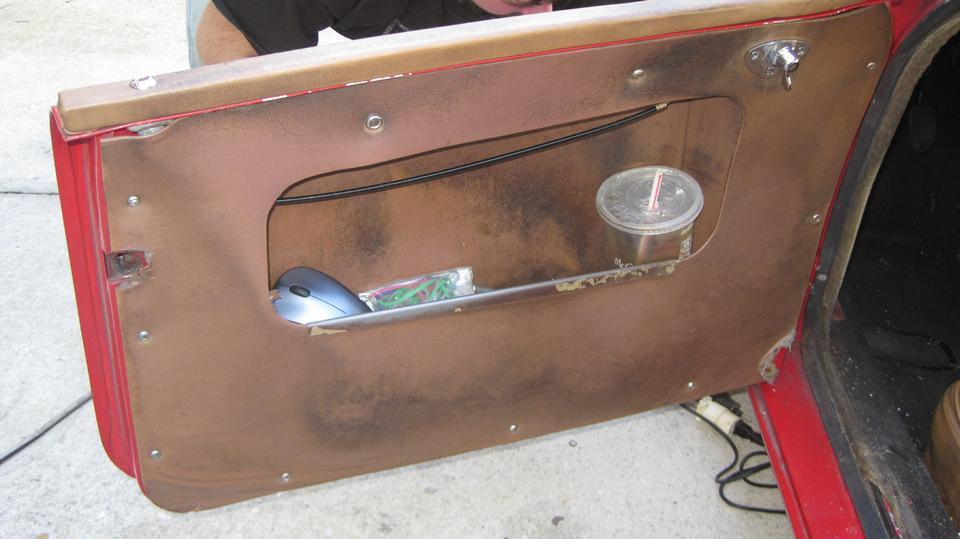
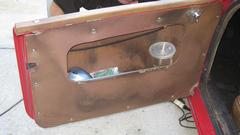
Not much happening at Tech Central, so this would be a good day to install the new left side door hinges on the MGA. Clean junk out of the door pocket, remove the interior panel and the pocket, and start loosening up the screws securing hinges to the A-pillar. One may have been too tight, didn't want to break loose, and stripped the Phillips drive out of the screw head. Going to have to drill this one out. Then things got real busy, and I didn't take any pictures until it was all back together. Using a 11/32" drill bit, I drilled through the screw head until the outer edge ring came loose. Pulled off the hinge, and unscrewed the remaining shank of the screw with my fingers. Really. Remember, these were apart a year ago when we were painting the car after body repairs, and were reassembled with anti-seize in the threads.
The rest was old school, using all new screws this time. Assemble the new hinges with no shims, align the door height, and tighten the screws. Of course the door didn't quite reach the striker plate. Tape a piece of thin steel wire to a 3/8-inch drill bit, and dangle the drill bit inside the hinge very neat to the hinge pin. Closing the door and giving it a little push bends the hinge leafs apart, making the hinge thicker, which moves the door rear ward. Five minutes fiddling to expand both hinges just enough to align the latch,and the door will close and latch with one finger push. Neat,huh? Spritz a little paint over the screws, and reinstall the door pocket and panel. -- The last picture was Jerry putting the last bits of edge trim on his rebuilt trailer door. But mostly he was very happy to have gotten the racing Rabbit engine back together and running again after yesterday's camshaft mishap.
Sunday, February 4, 2024:
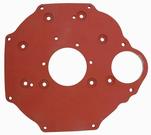
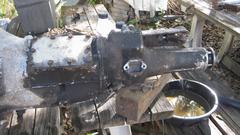
New tech page today for an engine rear plate to adapt an MGB 1800 5-main bearing engine to early MGA 1500 low starter gearbox. We have known how to do this by custom machining of the early MGA engine rear plate, but this time we have a commercially available part from Moss Motors. Currently on "clearance" sale, so it may not be available after current inventory is sold out.
Monday, February 5, 2024:
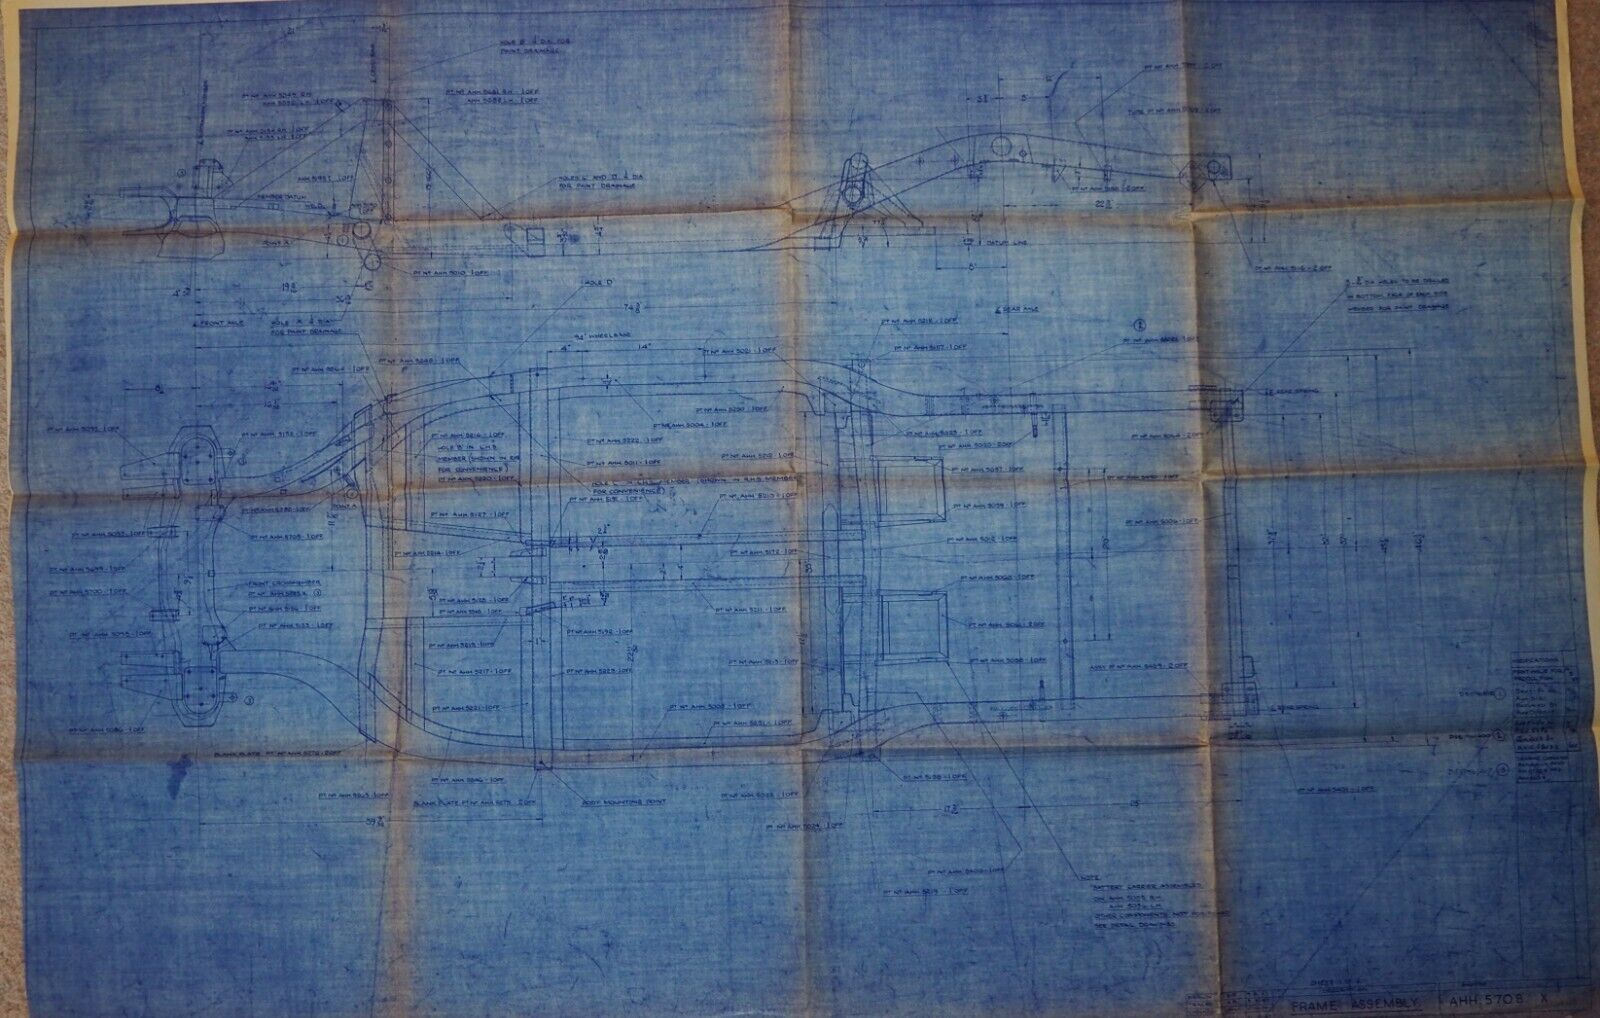
Yesterday and today, two days of rain during useful working hours of daylight, so nothing doing outside. But there was some progress among MGA Twin Cam Group members cooperating on a "team" bid on the MGA Twin Cam chassis drawing blueprints currently for sale on eBay. It is a conspiracy to have only one person bidding, and to over bid anyone else, and share the cost for purchase and scanning and copying to post on line for all to have access. I can't imagine how we could miss on this, but time will tell.
Tuesday, February 6, 2024:
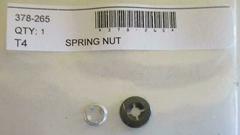
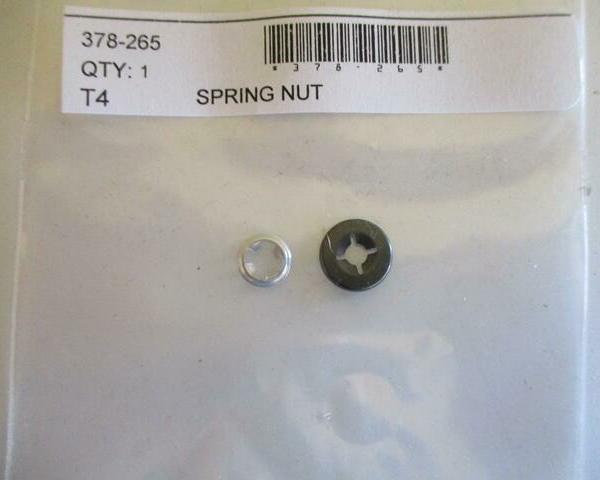
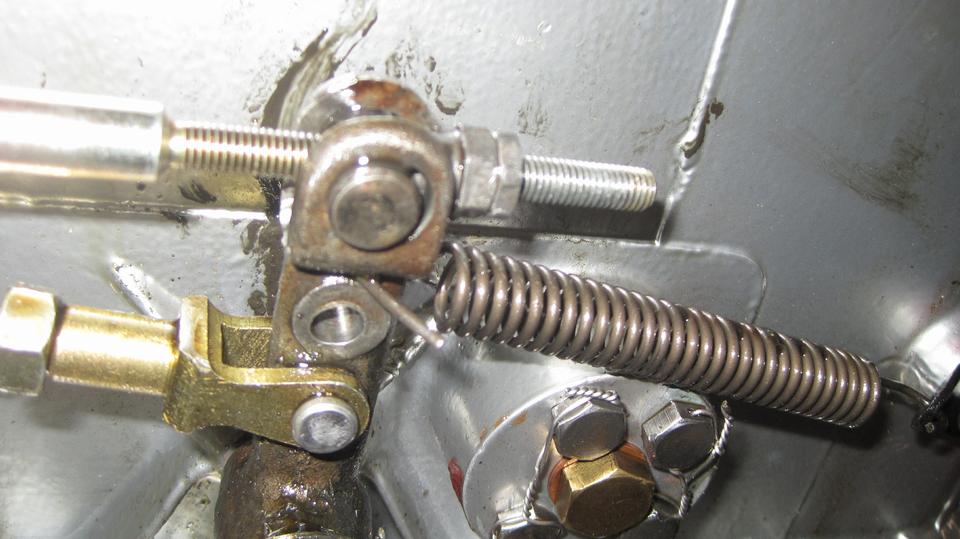
New tech page for another Faulty Replacement Part. This one is a Starlock Spring Washer, Small, used to secure the fast idle link on the carburetor.
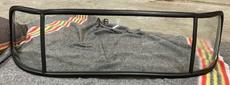
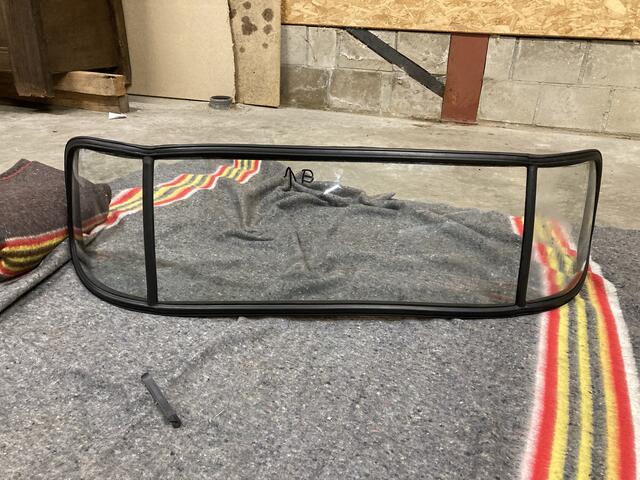
Another new tech page for installation of MGA Coupe rear windscreen with new and good quality rubber mounting seal.
Some discussion on replacing bushings in the clutch and brake pedals, and how to minimize side play at the pedal bottom ends.
Wednesday, February 7, 2024:
Chat about getting vintage racing tech inspectors convinced that 15" x 4-1/2" wide 60-spoke wire wheels were a factory option for the MGA. Boy those guys are sticklers for originality.
Thursday February 8, 2024:
The 2-page blueprint of the factory drawing of the MGA Twin Cam chassis frame sold on eBay for £520 (about $657-USD). Bit of a shock to everybody, and we didn't get it. But we will still check to see if there is any way we can get it scanned.
 Today I bit on a 45% discount sale and ordered a new set of seat covers from Prestige Autotrim Products Ltd. These appear to be good quality leather to replace the garbage covers that came with the Moss Motors full seat assemblies a few years ago.
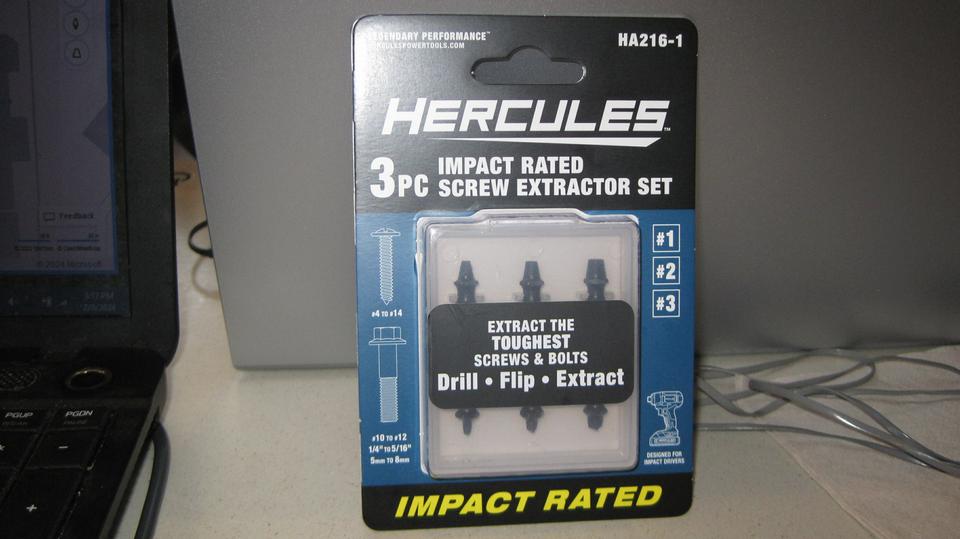
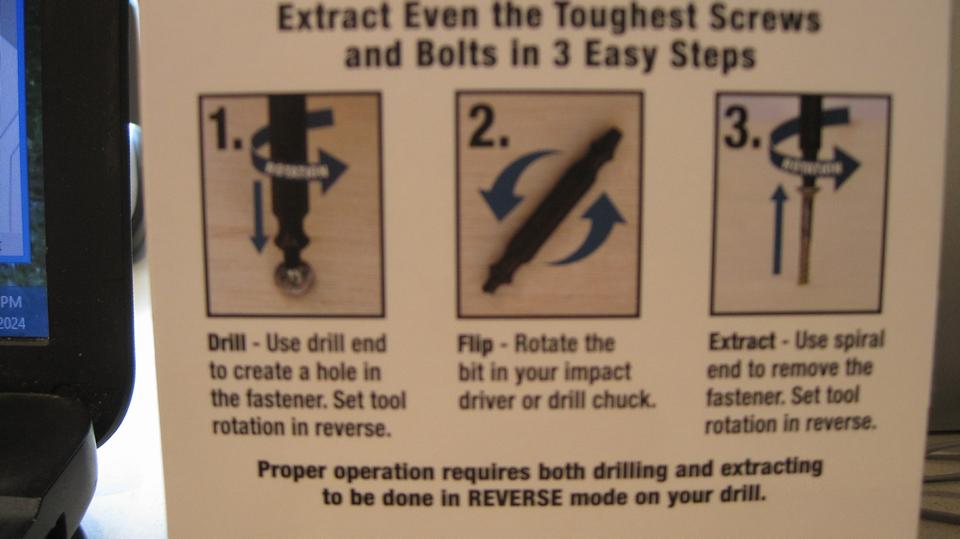
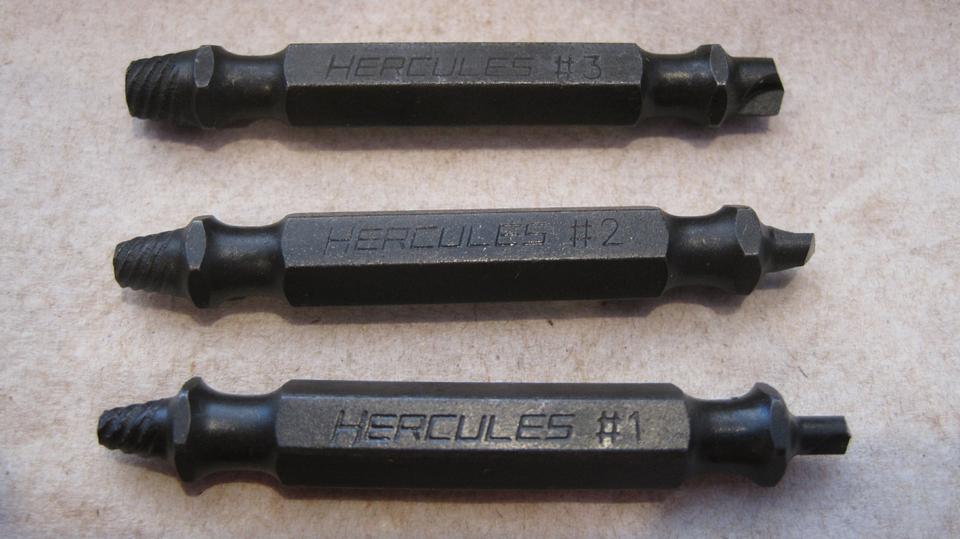
Side trip to Harbor Freight to pick up two sets of Screw Extractors. When you bugger up the screw driver slots in the screw head, and you can't get it out, this can be the solution. The drill end of this tool looks like a center drill. The pilot end is small diameter and short with a left handed drill tip. This is followed by a counter sink shape cutter, also with left handed drill point cutter. Turn it backward (counter-clockwise) in a power drill. About the time the countersink cutter gets through the screw head, the screw may (if you're lucky) just unscrew. Or the other end the tool works like an easy-out. Tap the tapered burr into the drilled hole, and unscrew the damaged screw. These bits are high strength impact rated, so a powered impact driver is recommended to do the trick.

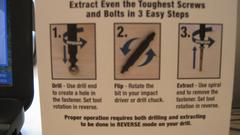

One set of Screw Extractors for the Magic Trailer, and one set for the Tech Central shop. I suspect these will prove useful more often than anyone thinks.
Friday February 9, 2024:
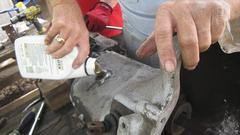
Tinkering day at Tech Central again. Guys were working at reviving the MGB 4-synchro gearbox. Last week it was internally rusted and frozen up. After getting it to turn and shift into all gears, they filled it with kerosene and let it soak for a week.
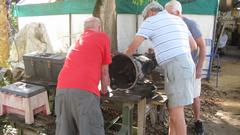
Today they spun it, drained it, opened it for internal inspection, closed it back up and filled it with fresh oil by day's end. Will check on it again next week.


The MG TF had a nasty oil leak at back of the engine, but a more pressing problem was the clutch pedal going all the way to the floor trying to shift. I finally crawled under for a look, and ended up winding the clutch pedal pull rod adjuster nut 15 turns to remove a lot off free play. Grins all around when the clutch works again.

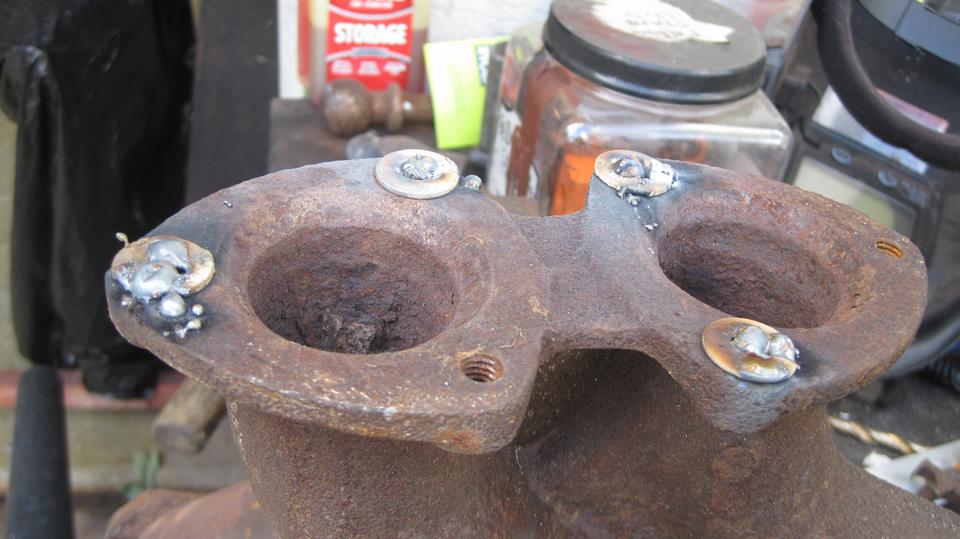
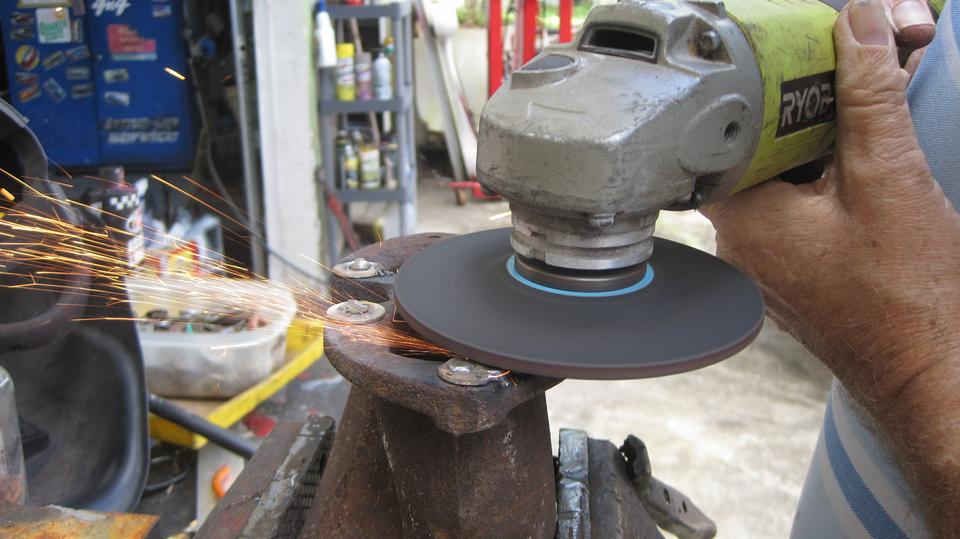
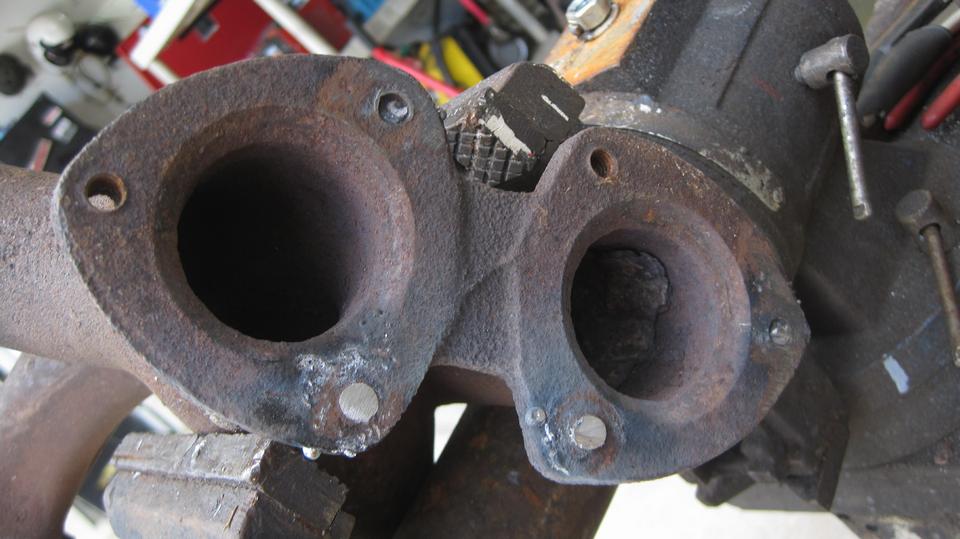
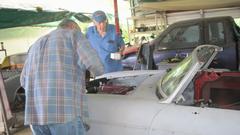
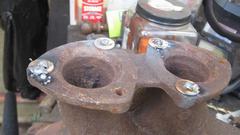
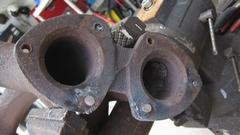
 Time to salvage another MGB exhaust manifold with broken bottom studs. We do a couple of these each year, usually heat the iron and unscrew the studs with a Vice-Grip. But these studs were all broken near or below flush. The idea hear is to plug weld a steel washer over the end of the stud, grind it flat, weld a hex nut onto the washer, and then unscrew it with a wrench. No such luck this time, as the plug welded washers kept breaking loose from the studs (bad welds I suppose).
Plan B is to grind the studs flat on the end, center punch the stud, carefully drill through center of the stud with progressively large drill bits, then clean the threads out with a tap. Any damaged threads can be repaired with Heli-Coil thread inserts. Ran out of time here, will take this up again next week.
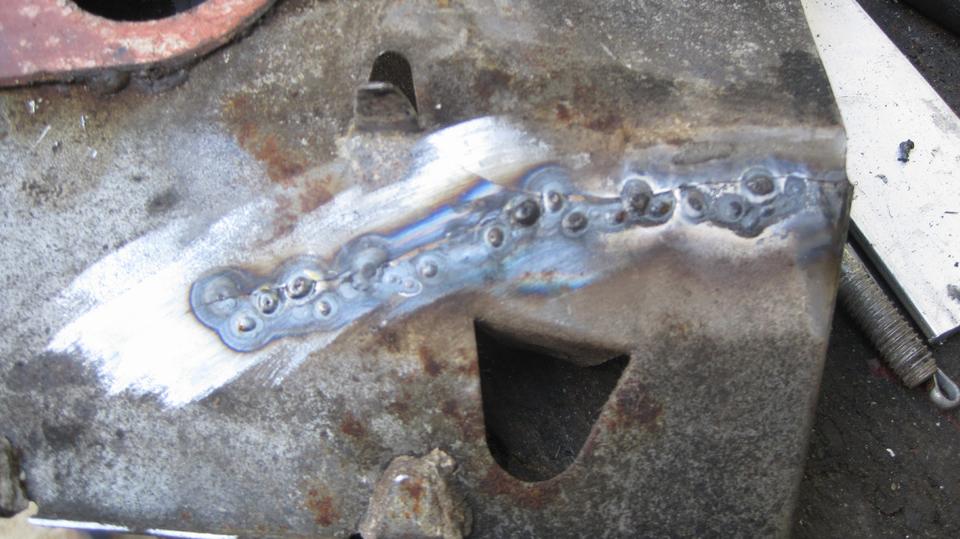
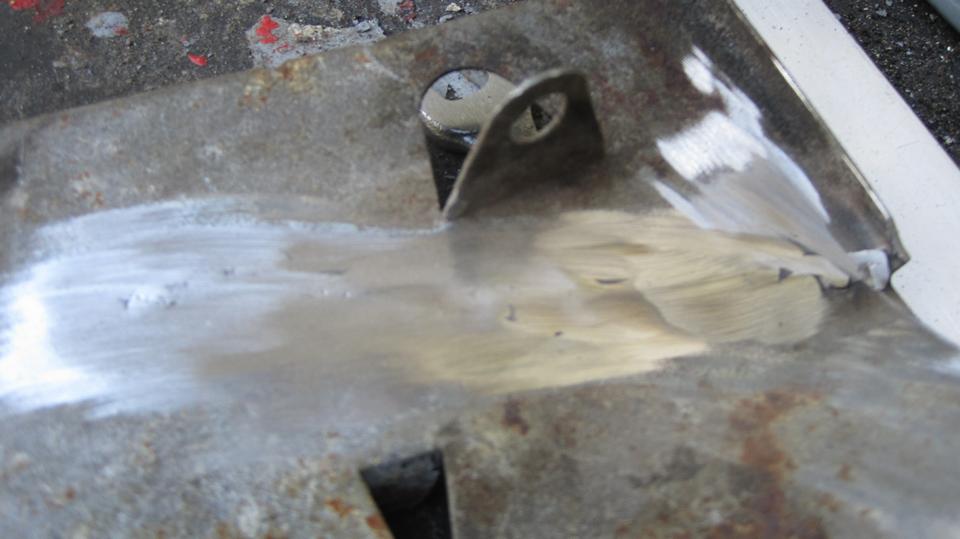
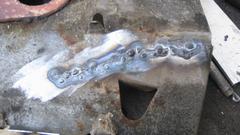
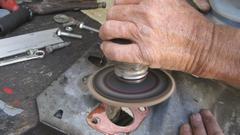
There was an MGB carburetor heat shield with a large crack running half way across. I managed to clamp it to apply a few tack welds to hold it dead flush. Then what is called "stacking the tacks", or slowly doing a one tack weld at a time to avoid overheating while completing the full weld. Then grind it flat before repainting, and it should be good for more years of service.

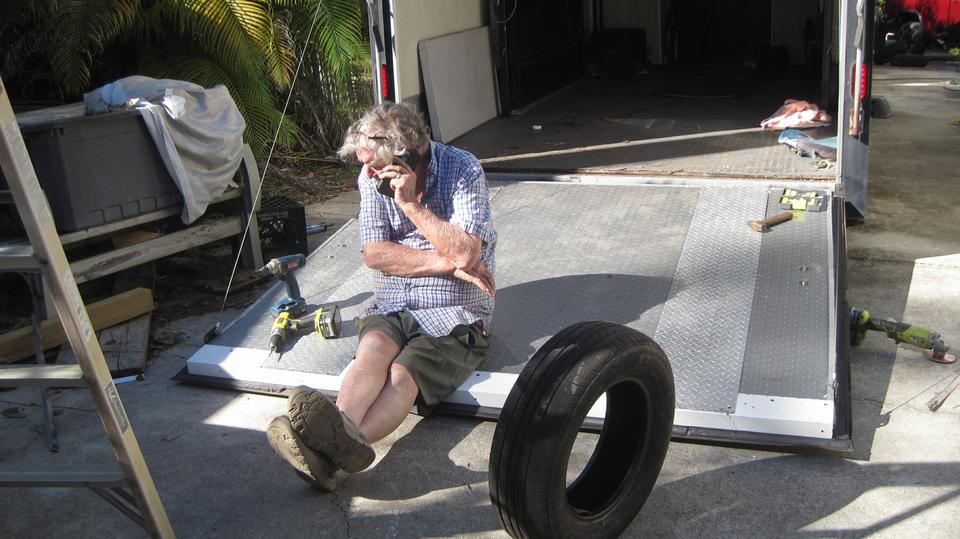
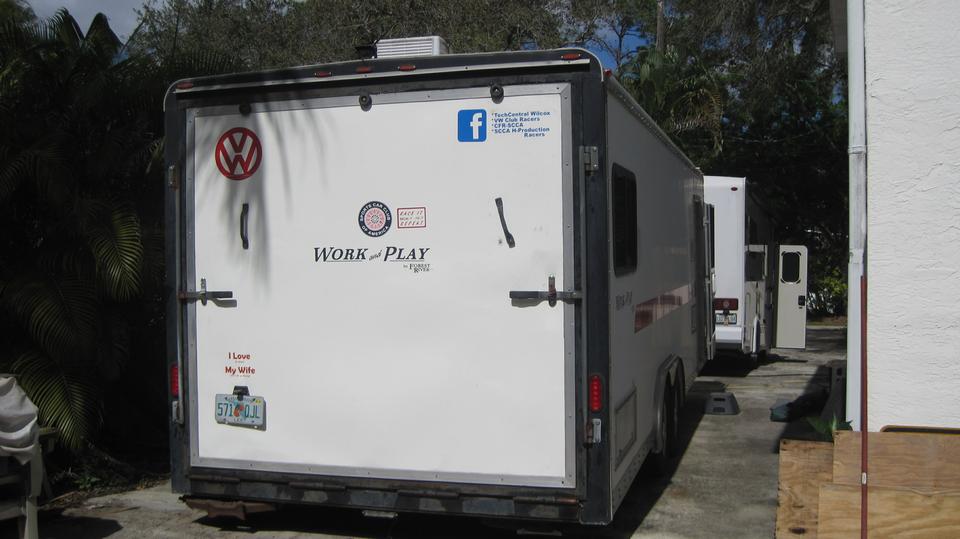
 We had a mid day BBQ lunch, and most of the guys would ante up a donation to replace a dead refrigerator. After finishing a few small chores, we got the Rabbit race car loaded into the box trailer. First run with the repaired tail gate, and it appears to work well. Jerry and wife and one friend are heading out this afternoon for a race weekend, should be back Sunday evening.
Saturday February 10, 2024:
Thought we had an appointment today, but it didn't work out. At least we didn't drive too far out of our way.
Lots of chat about the current 45% off sale at Prestige Autotrim Ltd. If you need rag top or tonneau cover, kick panels, seat covers or carpet, this would be a good time to jump.
Sunday February 11, 2024:
Superbowl Sunday. Everybody else was busy, but at least I got to watch the game.
Monday February 12, 2024:

 Someone found vintage magazine pictures on eBay for Kellison fiberglass hardtops for MGA, one fastback style, and one more traditional style. I knew about the Kellison fastback style before, but didn't have the picture, so I added the picture to the prior tech page. The Kellison traditional style top is another new shape I hadn't seen before, so that made a new tech page.
Tuesday February 13, 2024:

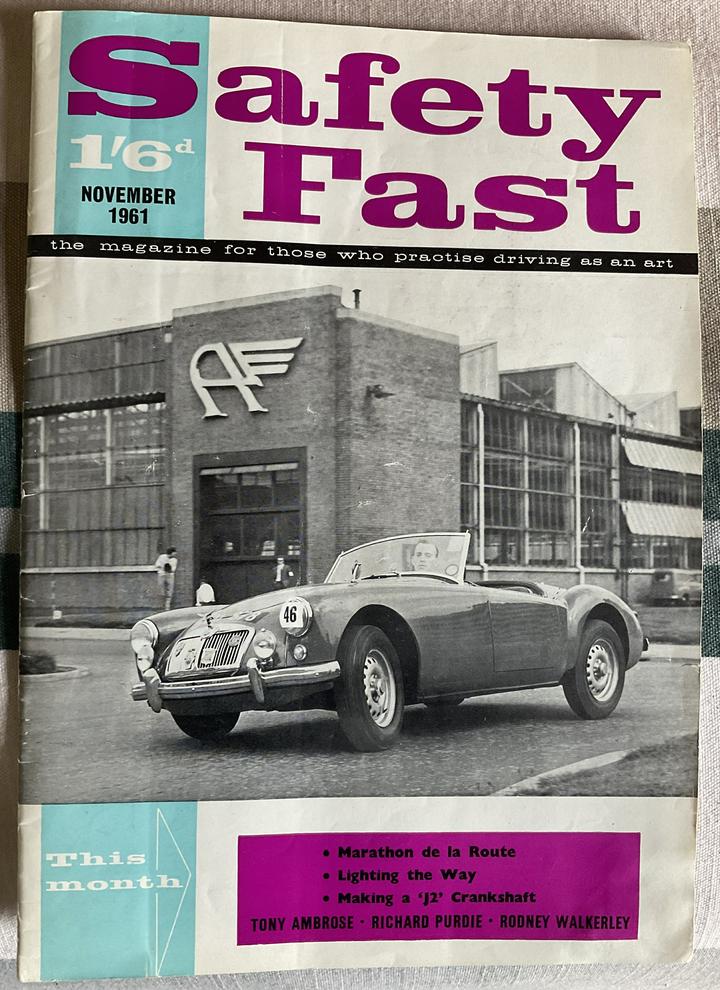
New tech page for a notable Twin YD1.700, first owned by (Sir) Boyd Tunnock (before he was knighted). The car appeared on the cover of Safety Fast in Nov. 1961 after winning the California Cup. The car is currently in Australia.
Wednesday February 14, 2024:
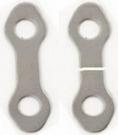
Another new Part Numbers tech page. For a long time the 1B3363 locktab for reverse gear shaft locking screw has been "Not Available". Now we have a solution. Grab a 2-hole locktab for the engine timing chain tensioner, and cut it in half to make two functional locktabs for the reverse shaft bolt. -- Also a new Part Numbers tech page for the AEC340 Locktab for timing chain tensioner.
Thursday February 15, 2024:
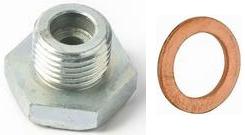
Two new Parts tech pages today, for the MGA Twin Cam engine oil sump plug and its seal washer. Took a while to figure this one out. The 2H4685 Plug happens to have a very odd thread, 3/4-14-ADM (Admiralty Fine Thread), which is a Whitworth thread form but with inch dimensions and special pitch. But the 6K431 Seal washer is a standard 3/4-inch copper crush washer.
|